> ## Documentation Index
> Fetch the complete documentation index at: https://docs.crossmint.com/llms.txt
> Use this file to discover all available pages before exploring further.
# Customization
> Customize the authentication flow and email templates
With Crossmint Auth, you can customize the authentication flow and email templates with your brand's identity.
## Modal Customization
The `CrossmintAuthProvider` component allows you to customize the authentication modal appearance and content.
```tsx theme={null}
import { CrossmintAuthProvider } from "@crossmint/client-sdk-react-ui";
By continuing, you agree to our Terms of Service and{" "}
Privacy Policy
}
appearance={{
spacingUnit: "8px",
borderRadius: "12px",
colors: {
inputBackground: "#fffdf9",
buttonBackground: "#fffaf2",
border: "#835911",
background: "#FAF5EC",
textPrimary: "#5f2c1b",
textSecondary: "#835911",
textLink: "#1400cb",
danger: "#ff3333",
accent: "#602C1B",
},
}}
>
{children}
```
### Modal props
| Prop | Type | Description |
| -------------------- | --------------------- | -------------------------------------------------------------------- |
| `authModalTitle` | `string` | Custom title displayed at the top of the authentication modal |
| `termsOfServiceText` | `string \| ReactNode` | Custom terms of service text displayed below the authentication form |
| `appearance` | `UIConfig` | Styling configuration for the modal (see example above) |
The modal will also use your display name configured in the Crossmint Console. To learn more, see the "Email Customization" section below.
## Embedded Login
For a more integrated experience, you can use our embedded login component, which offers flexibility to display the login form in your own modal or as part of a split login screen.
```tsx theme={null}
import { EmbeddedAuthForm, useAuth } from "@crossmint/client-sdk-react-ui";
export default function Home() {
const { user, status } = useAuth(); // "in-progress" | "logged-in" | "logged-out"
return {status === "logged-in" ? user?.email : }
;
}
```
## Email Customization
Email OTP is a login method that allows users to sign in to your app using their email address. They receive a one-time code via email that they can use to log in.
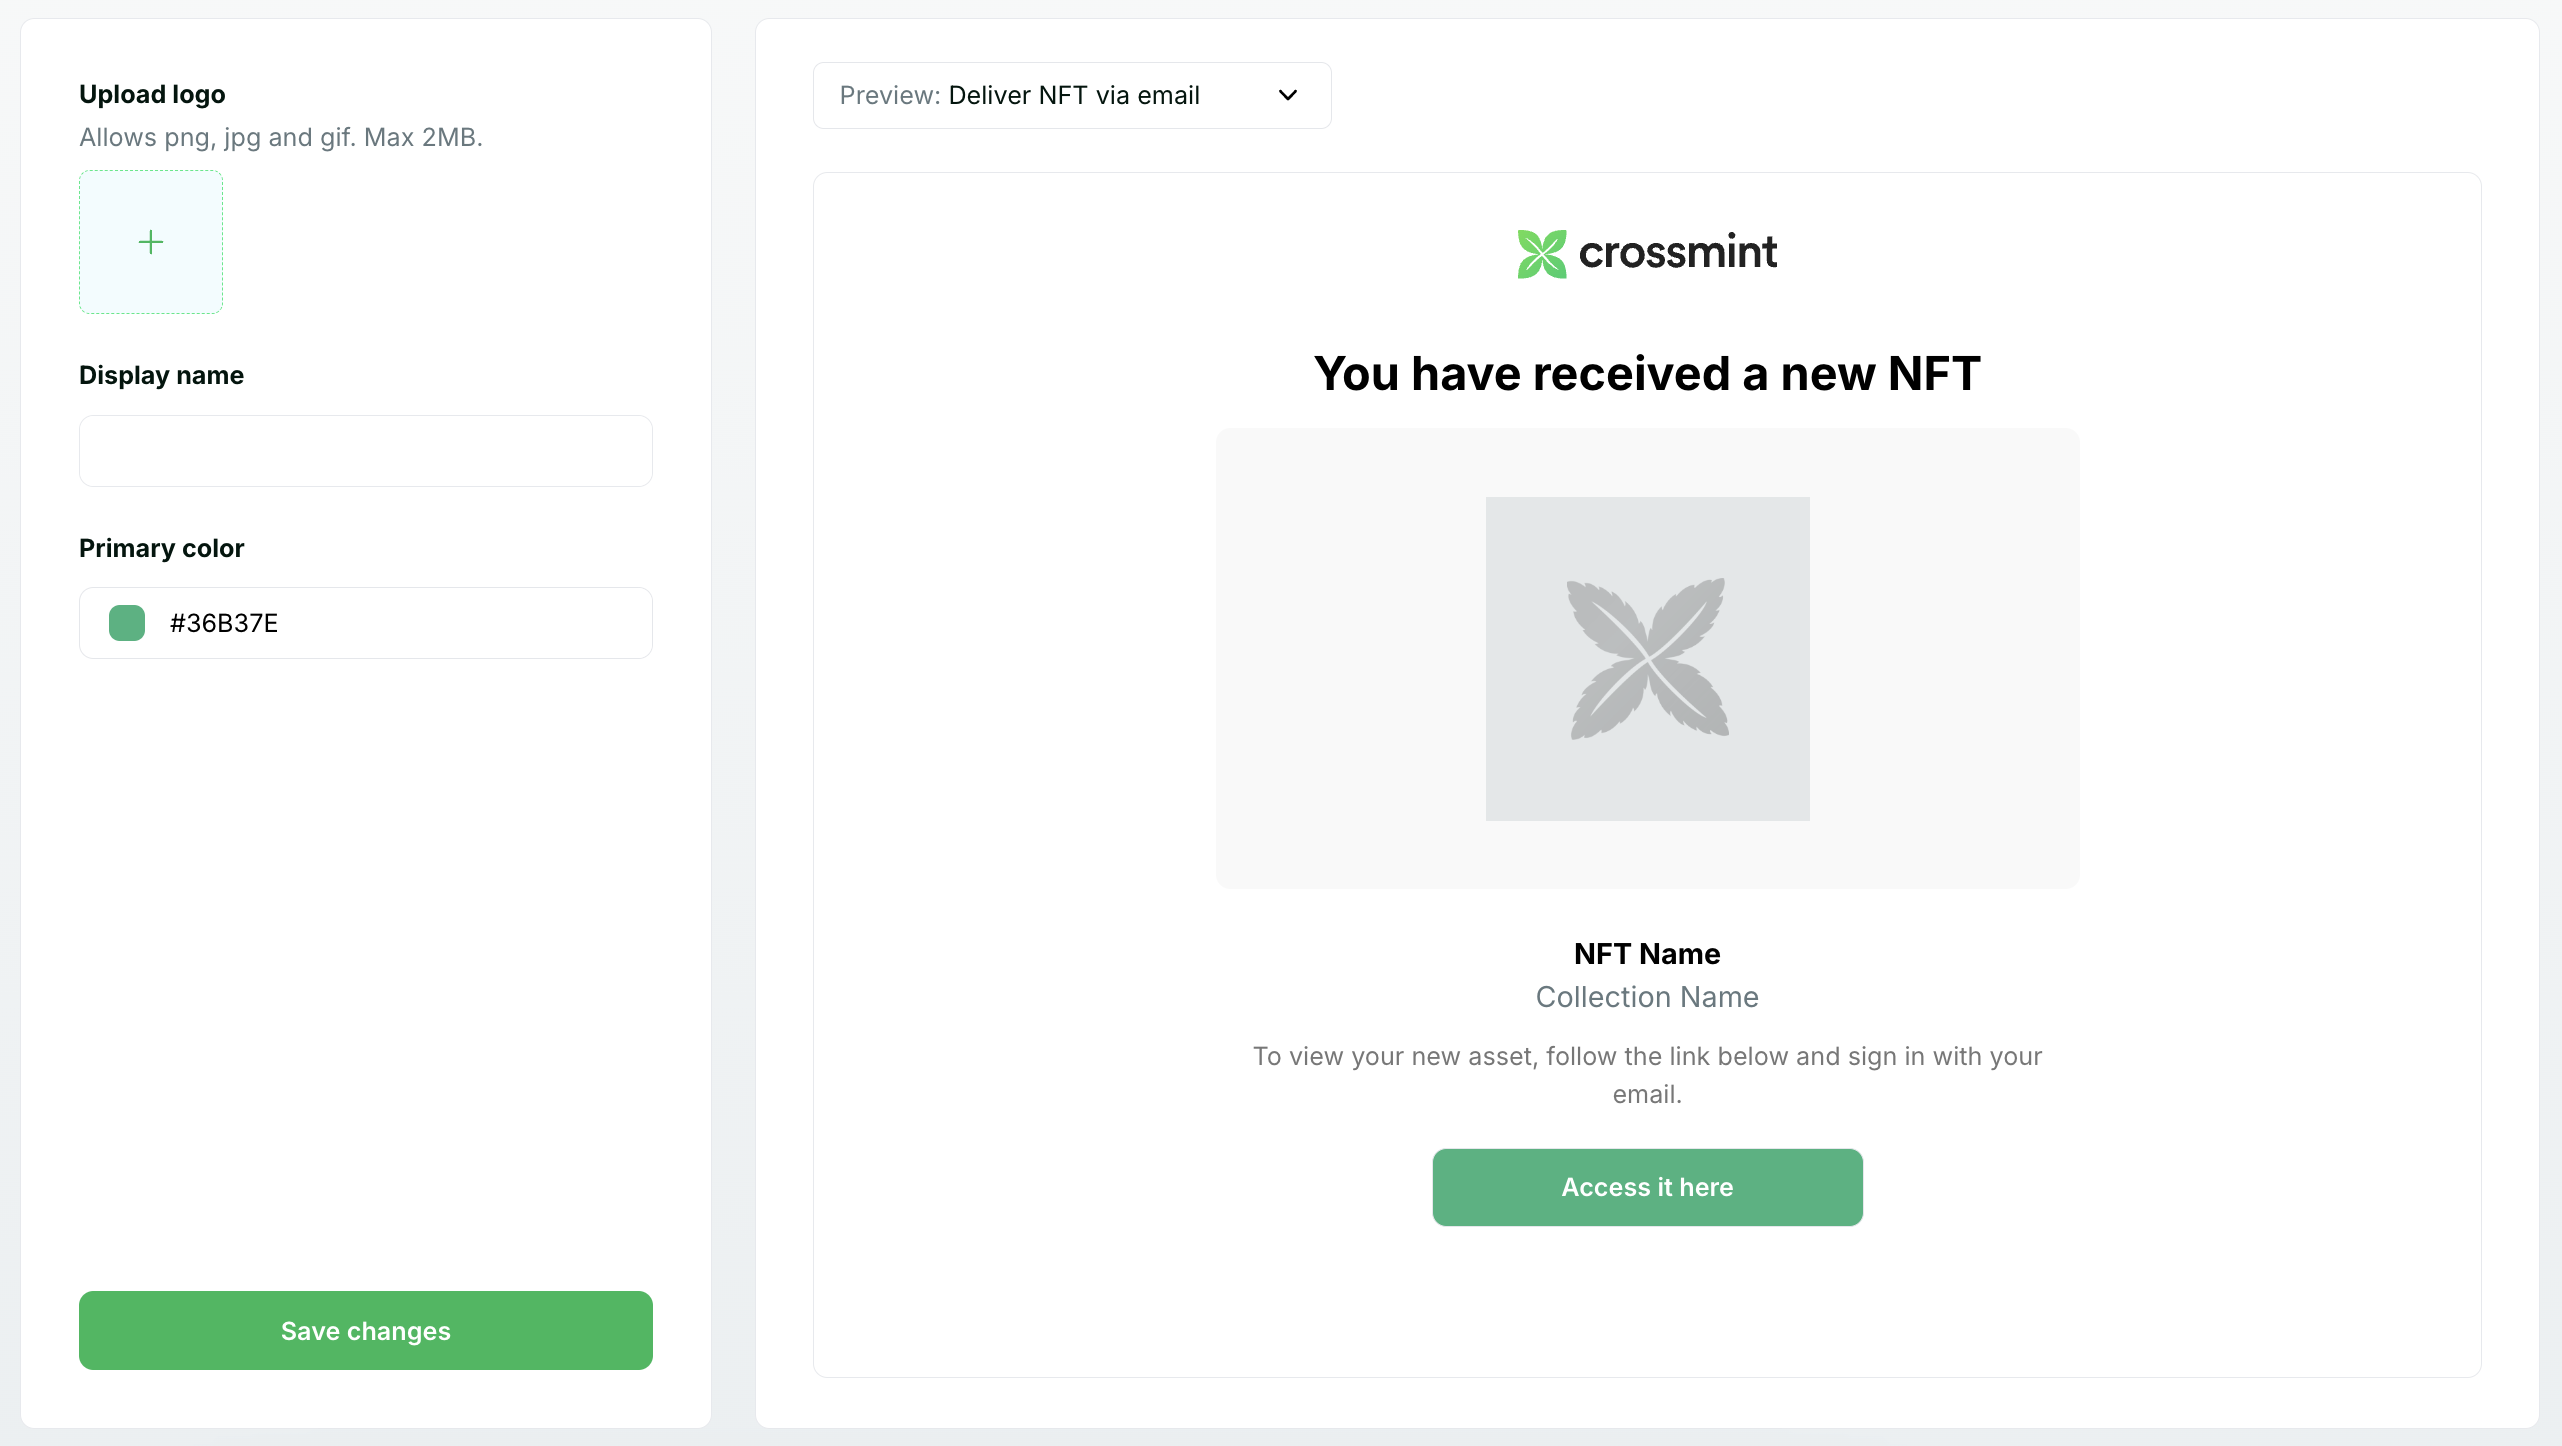
You can customize the email template to align with your brand's identity. We **strongly recommend** doing so, as it increases user trust and security.
To modify the email template:
1. In the Crossmint Console, click on Settings, and navigate to the **Branding** tab.
2. Here, you can customize:
* The **logo** displayed in the email with your logo.
* The **display name** textbox to include your brand's name.
When customizing email text, avoid using terms like "airdrop", "token", or "crypto" as these can trigger spam
filters and hurt email deliverability.