> ## Documentation Index
> Fetch the complete documentation index at: https://docs.crossmint.com/llms.txt
> Use this file to discover all available pages before exploring further.
# Non-Fungible Tokens (NFTs)
> Mint an NFT in under 5 minutes
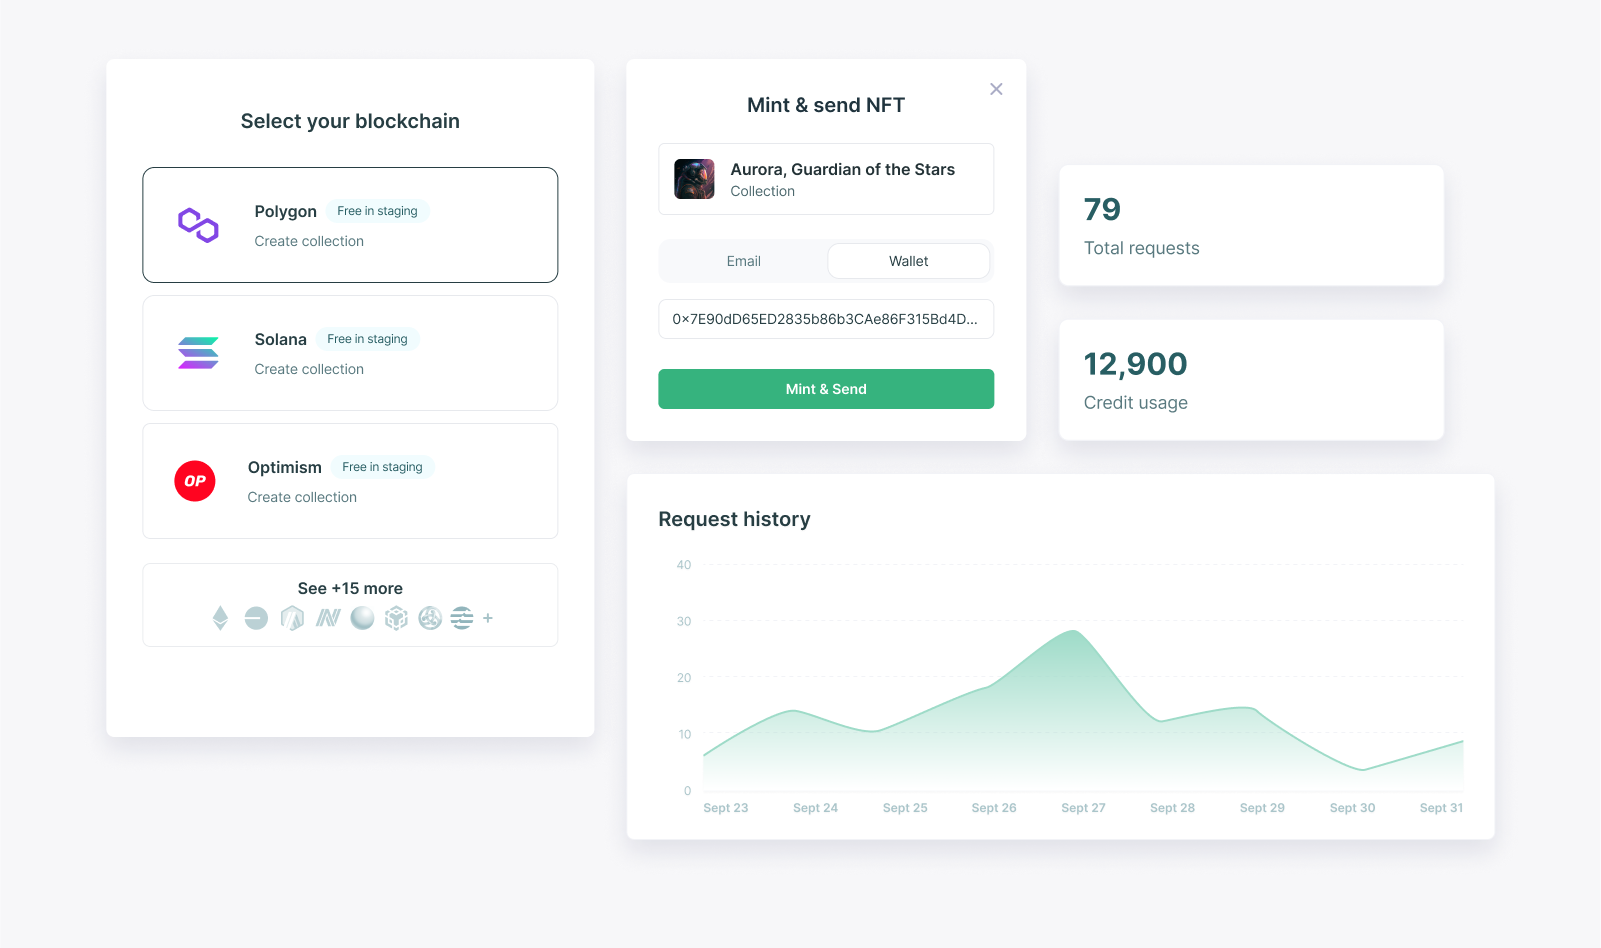
In this quickstart you will learn how to create a unique NFT and deliver it to a wallet or email address.
 ## Integration steps
### 1. Create a Developer Account
### 2. Get an API Key
Within the "Server-side keys" section, click the "Create new key" button in the top right.
Then, check the scopes `nfts.create` and `nfts.read` under the "Minting API"
category and create your key. Save this key for the next step.
### 3. Mint an NFT
We're almost there! With our key created, we're now going to write a small
function that creates an NFT and delivers it to a user.
Create a file (e.g. `mintNFT.js`) and enter this code into it:
```javascript mintNFT.js theme={null}
const apiKey = "YOUR_API_KEY";
const chain = "polygon-amoy"; // or "ethereum-sepolia", "base-sepolia", etc.
const env = "staging"; // or "www"
const recipientEmail = "TEST_EMAIL_ADDRESS";
const recipientAddress = `email:${recipientEmail}:${chain}`;
const url = `https://${env}.crossmint.com/api/2022-06-09/collections/default/nfts`;
const options = {
method: "POST",
headers: {
"accept": "application/json",
"content-type": "application/json",
"x-api-key": apiKey,
},
body: JSON.stringify({
recipient: recipientAddress,
metadata: {
name: "Crossmint Test NFT",
image: "https://picsum.photos/400",
description: "My first NFT using Crossmint",
},
}),
};
fetch(url, options)
.then((res) => res.json())
.then((json) => console.log(json))
.catch((err) => console.error("error:" + err));
```
This code creates an NFT, uploads it to the blockchain, and delivers it to a user wallet, attached to the email address provided. Before running it, be sure to fill in values for:
* `YOUR_API_KEY` with the key obtained in the prior step.
* `TEST_EMAIL_ADDRESS` with an email address you control, for testing.
Now, run the `mintNFT.js` script.
```bash theme={null}
node mintNFT.js
```
After a few seconds, it should return a response indicating the mint has
started processing. Check the full response and save its `actionId` property, as you'll use it later.
Here is an example response returned from the API call above:
```json JSON theme={null}
{
"id": "b3f61f22-c30e-424d-a5ab-d0cbc5c41aab",
"onChain": {
"status": "pending",
"chain": "polygon-amoy",
"contractAddress": "0x921Bc21bf3Fd6568cdC2C904F75b83556062c3d0"
},
"actionId": "b3f61f22-c30e-424d-a5ab-d0cbc5c41aab"
}
```
### 4. Confirm Delivery of the NFT
The mint has started processing. However, blockchains can take a few seconds (or,
at times of extreme network congestion, even minutes) to confirm the operation.
Before showing the user a success screen, the next step is checking the
status of the mint.
To do this, grab the `actionId` received at the end of step 3 and use it
alongside your API key in one of the snippets below.
```javascript mintStatus.js theme={null}
const apiKey = "";
const env = "staging"; // or "www"
const actionId = "";
const url = `https://${env}.crossmint.com/api/2022-06-09/actions/${actionId}`;
const options = {
method: "GET",
headers: { "X-API-KEY": apiKey },
};
fetch(url, options)
.then((response) => response.json())
.then((response) => console.log(response))
.catch((err) => console.error(err));
```
```bash cURL theme={null}
# Replace "staging" with "www" for production, and fill in your api key and mint action id
ENV="staging"
API_KEY=""
MINT_ACTION_ID=""
curl --header "x-api-key: $API_KEY" \
-X GET \
https://${ENV}.crossmint.com/api/2022-06-09/actions/${MINT_ACTION_ID}
```
## Integration steps
### 1. Create a Developer Account
### 2. Get an API Key
Within the "Server-side keys" section, click the "Create new key" button in the top right.
Then, check the scopes `nfts.create` and `nfts.read` under the "Minting API"
category and create your key. Save this key for the next step.
### 3. Mint an NFT
We're almost there! With our key created, we're now going to write a small
function that creates an NFT and delivers it to a user.
Create a file (e.g. `mintNFT.js`) and enter this code into it:
```javascript mintNFT.js theme={null}
const apiKey = "YOUR_API_KEY";
const chain = "polygon-amoy"; // or "ethereum-sepolia", "base-sepolia", etc.
const env = "staging"; // or "www"
const recipientEmail = "TEST_EMAIL_ADDRESS";
const recipientAddress = `email:${recipientEmail}:${chain}`;
const url = `https://${env}.crossmint.com/api/2022-06-09/collections/default/nfts`;
const options = {
method: "POST",
headers: {
"accept": "application/json",
"content-type": "application/json",
"x-api-key": apiKey,
},
body: JSON.stringify({
recipient: recipientAddress,
metadata: {
name: "Crossmint Test NFT",
image: "https://picsum.photos/400",
description: "My first NFT using Crossmint",
},
}),
};
fetch(url, options)
.then((res) => res.json())
.then((json) => console.log(json))
.catch((err) => console.error("error:" + err));
```
This code creates an NFT, uploads it to the blockchain, and delivers it to a user wallet, attached to the email address provided. Before running it, be sure to fill in values for:
* `YOUR_API_KEY` with the key obtained in the prior step.
* `TEST_EMAIL_ADDRESS` with an email address you control, for testing.
Now, run the `mintNFT.js` script.
```bash theme={null}
node mintNFT.js
```
After a few seconds, it should return a response indicating the mint has
started processing. Check the full response and save its `actionId` property, as you'll use it later.
Here is an example response returned from the API call above:
```json JSON theme={null}
{
"id": "b3f61f22-c30e-424d-a5ab-d0cbc5c41aab",
"onChain": {
"status": "pending",
"chain": "polygon-amoy",
"contractAddress": "0x921Bc21bf3Fd6568cdC2C904F75b83556062c3d0"
},
"actionId": "b3f61f22-c30e-424d-a5ab-d0cbc5c41aab"
}
```
### 4. Confirm Delivery of the NFT
The mint has started processing. However, blockchains can take a few seconds (or,
at times of extreme network congestion, even minutes) to confirm the operation.
Before showing the user a success screen, the next step is checking the
status of the mint.
To do this, grab the `actionId` received at the end of step 3 and use it
alongside your API key in one of the snippets below.
```javascript mintStatus.js theme={null}
const apiKey = "";
const env = "staging"; // or "www"
const actionId = "";
const url = `https://${env}.crossmint.com/api/2022-06-09/actions/${actionId}`;
const options = {
method: "GET",
headers: { "X-API-KEY": apiKey },
};
fetch(url, options)
.then((response) => response.json())
.then((response) => console.log(response))
.catch((err) => console.error(err));
```
```bash cURL theme={null}
# Replace "staging" with "www" for production, and fill in your api key and mint action id
ENV="staging"
API_KEY=""
MINT_ACTION_ID=""
curl --header "x-api-key: $API_KEY" \
-X GET \
https://${ENV}.crossmint.com/api/2022-06-09/actions/${MINT_ACTION_ID}
```
Here is an example response from calling the status API:
```json JSON theme={null}
{
"actionId": "b3f61f22-c30e-424d-a5ab-d0cbc5c41aab",
"action": "nfts.create",
"status": "success",
"data": {
"collection": {...},
"recipient": {...},
"token": {...}
},
"startedAt": "2025-05-27T02:41:08.000Z",
"completedAt": "2025-05-27T02:41:40.000Z",
"resource": "https://staging.crossmint.com/api/2022-06-09/collections/default-polygon-amoy/nfts/b3f61f22-c30e-424d-a5ab-d0cbc5c41aab"
}
```
Pay attention to the "status" field. Once it says "success":
**Congratulations. You have minted your first NFT** 🥷 🎉
For scalable production applications, consider using [webhooks](/minting/nfts/integrate/webhooks-and-status-apis) to
determine when your NFT has been minted, instead of periodically polling for its status via the API.
### 1. Create a Developer Account
### 2. Get an API Key
Within the "Server-side keys" section, click the "Create new key" button in the top right.
Then, check the scopes `nfts.create` and `nfts.read` under the "Minting API"
category and create your key. Save this key for the next step.
### 3. Mint an NFT
We're almost there! With our key created, we're now going to write a small
function that creates an NFT and delivers it to a user.
Create a file (e.g. `mintNFT.js`) and enter this code into it:
```javascript mintNFT.js theme={null}
const apiKey = "YOUR_API_KEY";
const chain = "solana";
const env = "staging"; // or "www"
const recipientEmail = "TEST_EMAIL_ADDRESS";
const recipientAddress = `email:${recipientEmail}:${chain}`;
const url = `https://${env}.crossmint.com/api/2022-06-09/collections/default-solana/nfts`;
const options = {
method: "POST",
headers: {
"accept": "application/json",
"content-type": "application/json",
"x-api-key": apiKey,
},
body: JSON.stringify({
recipient: recipientAddress,
metadata: {
name: "Crossmint Test NFT",
image: "https://picsum.photos/400",
description: "My first NFT using Crossmint",
},
}),
};
fetch(url, options)
.then((res) => res.json())
.then((json) => console.log(json))
.catch((err) => console.error("error:" + err));
```
This code creates an NFT, uploads it to the Solana blockchain, and delivers it to a user wallet, attached to the email address provided. Before running it, be sure to fill in values for:
* `YOUR_API_KEY` with the key obtained in the prior step.
* `TEST_EMAIL_ADDRESS` with an email address you control, for testing.
Now, run the `mintNFT.js` script.
```bash theme={null}
node mintNFT.js
```
After a few seconds, it should return a response indicating the mint has
started processing. Check the full response and save its `actionId` property, as you'll use it later.
Here is an example response returned from the API call above:
```json JSON theme={null}
{
"id": "cace8d7d-e4dd-483d-a780-faf6aa9f761a",
"onChain": {
"status": "pending",
"chain": "solana"
},
"actionId": "cace8d7d-e4dd-483d-a780-faf6aa9f761a"
}
```
### 4. Confirm Delivery of the NFT
The mint has started processing. However, blockchains can take a few seconds (or,
at times of extreme network congestion, even minutes) to confirm the operation.
Before showing the user a success screen, the next step is checking the
status of the mint.
To do this, grab the `actionId` received at the end of step 3 and use it
alongside your API key in one of the snippets below.
```javascript mintStatus.js theme={null}
const apiKey = "";
const env = "staging"; // or "www"
const actionId = "";
const url = `https://${env}.crossmint.com/api/2022-06-09/actions/${actionId}`;
const options = {
method: "GET",
headers: { "X-API-KEY": apiKey },
};
fetch(url, options)
.then((response) => response.json())
.then((response) => console.log(response))
.catch((err) => console.error(err));
```
```bash cURL theme={null}
# Replace "staging" with "www" for production, and fill in your api key and mint action id
ENV="staging"
API_KEY=""
MINT_ACTION_ID=""
curl --header "x-api-key: $API_KEY" \
-X GET \
https://${ENV}.crossmint.com/api/2022-06-09/actions/${MINT_ACTION_ID}
```
Here is an example response from calling the status API:
```json JSON theme={null}
{
"actionId": "cace8d7d-e4dd-483d-a780-faf6aa9f761a",
"action": "nfts.create",
"status": "success",
"data": {
"chain": "solana",
"txId": "5KQHjcEq7DWnD1Rzo7RW7rknY3NFeKsJ9Lxkrd1DBPPwxbv9k4JAgxELWW5rqWMd5sXrHDwYzsRMeUok3tqYvTLa",
"collection": {...},
"recipient": {...},
"token": {...}
},
"startedAt": "2025-05-27T03:04:23.000Z",
"completedAt": "2025-05-27T03:04:49.000Z",
"resource": "https://staging.crossmint.com/api/2022-06-09/actions/cace8d7d-e4dd-483d-a780-faf6aa9f761a"
}
```
Pay attention to the "status" field. Once it says "success":
**Congratulations. You have minted your first NFT** 🥷 🎉
For scalable production applications, consider using [webhooks](/minting/nfts/integrate/webhooks-and-status-apis) to
determine when your NFT has been minted, instead of periodically polling for its status via the API.
### 1. Create a Developer Account
### 2. Get an API Key
Within the "Server-side keys" section, click the "Create new key" button in the top right.
Then, check the scopes `nfts.create` and `nfts.read` under the "Minting API"
category and create your key. Save this key for the next step.
### 3. Mint a Compressed NFT
We're almost there! With our key created, we're now going to write a small
function that creates a compressed NFT and delivers it to a user.
Compressed NFTs are a new standard on the Solana blockchain, for minting NFTs with the lowest cost amongst L1 and L2 blockchains, and the highest throughput (thousands of NFTs per second).
Create a file (e.g. `mintCompressedNFT.js`) and enter this code into it:
```javascript mintCompressedNFT.js theme={null}
const apiKey = "YOUR_API_KEY";
const chain = "solana";
const env = "staging"; // or "www"
const recipientEmail = "TEST_EMAIL_ADDRESS";
const recipientAddress = `email:${recipientEmail}:${chain}`;
const url = `https://${env}.crossmint.com/api/2022-06-09/collections/default-solana/nfts`;
const options = {
method: "POST",
headers: {
"accept": "application/json",
"content-type": "application/json",
"x-api-key": apiKey,
},
body: JSON.stringify({
recipient: recipientAddress,
metadata: {
name: "Crossmint Compressed NFT",
image: "https://picsum.photos/400",
description: "My first compressed NFT using Crossmint",
},
compressed: true,
reuploadLinkedFiles: false
}),
};
fetch(url, options)
.then((res) => res.json())
.then((json) => console.log(json))
.catch((err) => console.error("error:" + err));
```
This code creates a compressed NFT, uploads it to the Solana blockchain, and delivers it to a user wallet, attached to the email address provided. Before running it, be sure to fill in values for:
* `YOUR_API_KEY` with the key obtained in the prior step.
* `TEST_EMAIL_ADDRESS` with an email address you control, for testing.
Now, run the `mintCompressedNFT.js` script.
```bash theme={null}
node mintCompressedNFT.js
```
Current Protocol Limitations:
* There's a 10-30 second delay between when a compressed NFT is minted and it shows in wallets.
After a few seconds, it should return a response indicating the mint has
started processing. Check the full response and save its `actionId` property, as you'll use it later.
Here is an example response returned from the API call above:
```json JSON theme={null}
{
"actionId": "de26f73e-b0ae-4ac6-8784-39f20527d39d",
"onChain": {
"status": "pending",
"chain": "solana"
},
"id": "de26f73e-b0ae-4ac6-8784-39f20527d39d"
}
```
### 4. Confirm Delivery of the NFT
The mint has started processing. However, blockchains can take a few seconds (or,
at times of extreme network congestion, even minutes) to confirm the operation.
Before showing the user a success screen, the next step is checking the
status of the mint.
To do this, grab the `actionId` received at the end of step 3 and use it
alongside your API key in one of the snippets below.
```bash cURL theme={null}
# Replace "staging" with "www" for production, and fill in your api key and mint action id
ENV="staging"
API_KEY=""
MINT_ACTION_ID=""
curl --header "x-api-key: $API_KEY" \
-X GET \
https://${ENV}.crossmint.com/api/2022-06-09/actions/${MINT_ACTION_ID}
```
```javascript mintStatus.js theme={null}
const apiKey = "";
const env = "staging"; // or "www"
const actionId = "";
const url = `https://${env}.crossmint.com/api/2022-06-09/actions/${actionId}`;
const options = {
method: "GET",
headers: { "X-API-KEY": apiKey },
};
fetch(url, options)
.then((response) => response.json())
.then((response) => console.log(response))
.catch((err) => console.error(err));
```
Here is an example response from calling the status API:
```json JSON theme={null}
{
"actionId": "de26f73e-b0ae-4ac6-8784-39f20527d39d",
"action": "nfts.create",
"status": "success",
"data": {
"chain": "solana",
"txId": "dLFcyYtgFrrX7VkXh8U8JUmECNykH7VASzovNzM67NPRypCzMkTnx1ffv7dB99N4YrAT2mDRqszGofKunnazbXX",
"collection": {...},
"recipient": {...},
"token": {...}
},
"startedAt": "2025-05-27T03:09:47.000Z",
"completedAt": "2025-05-27T03:09:52.000Z",
"resource": "https://staging.crossmint.com/api/2022-06-09/actions/de26f73e-b0ae-4ac6-8784-39f20527d39d"
}
```
Pay attention to the "status" field. Once it says "success":
**Congratulations. You have minted your first compressed NFT** 🥷 🎉
Other explorers, like Solscan, still have not added support.
For scalable production applications, consider using [webhooks](/minting/nfts/integrate/webhooks-and-status-apis) to
determine when your NFT has been minted, instead of periodically polling for its status via the API.
## View your NFTs
1. If the NFTs were delivered to an **email address**, the recipient can see them by:
* Logging into their wallet from Crossmint's [website](https://www.crossmint.com). For staging, they must use [https://staging.crossmint.com](https://staging.crossmint.com).
* From your website if you use [embedded wallets](/wallets/overview). See the API for [getting the NFTs](/api-reference/wallets/get-nfts-from-wallet) in a wallet.
2. If the NFTs were delivered to a **wallet address**, the user will be able to see them there directly, connecting to testnet if needed, or on the testnet blockchain explorer.
And voilá, there's your NFT! Now think of all the cool things you can build
with this, at scale :)
## Launching in Production
For production, the steps are almost identical, but some changes are required:
1. Create a developer account on the [production console](https://www.crossmint.com/console).
2. Add credits to your account from [Billing & Usage](https://www.crossmint.com/console/billing).
3. Then, create a production key on the [API Keys](https://www.crossmint.com/console/projects/apiKeys) page with the
same API scopes.
4. Modify all code snippets with `const env = "www"`, so they use the production APIs. You may also need to change the
`chain` variable to match your production blockchain.
5. Check the guide with [best practices](/minting/advanced/best-practices)
## Learn More
Learn how to create and manage NFT collections.
Check out more advanced options for minting digital assets.
Update and delete tokens after minting.