> ## Documentation Index
> Fetch the complete documentation index at: https://docs.crossmint.com/llms.txt
> Use this file to discover all available pages before exploring further.
# Pay with Card - NFTs (React)
> Embed a onchain checkout into a web app in under 5 minutes
 ## Introduction
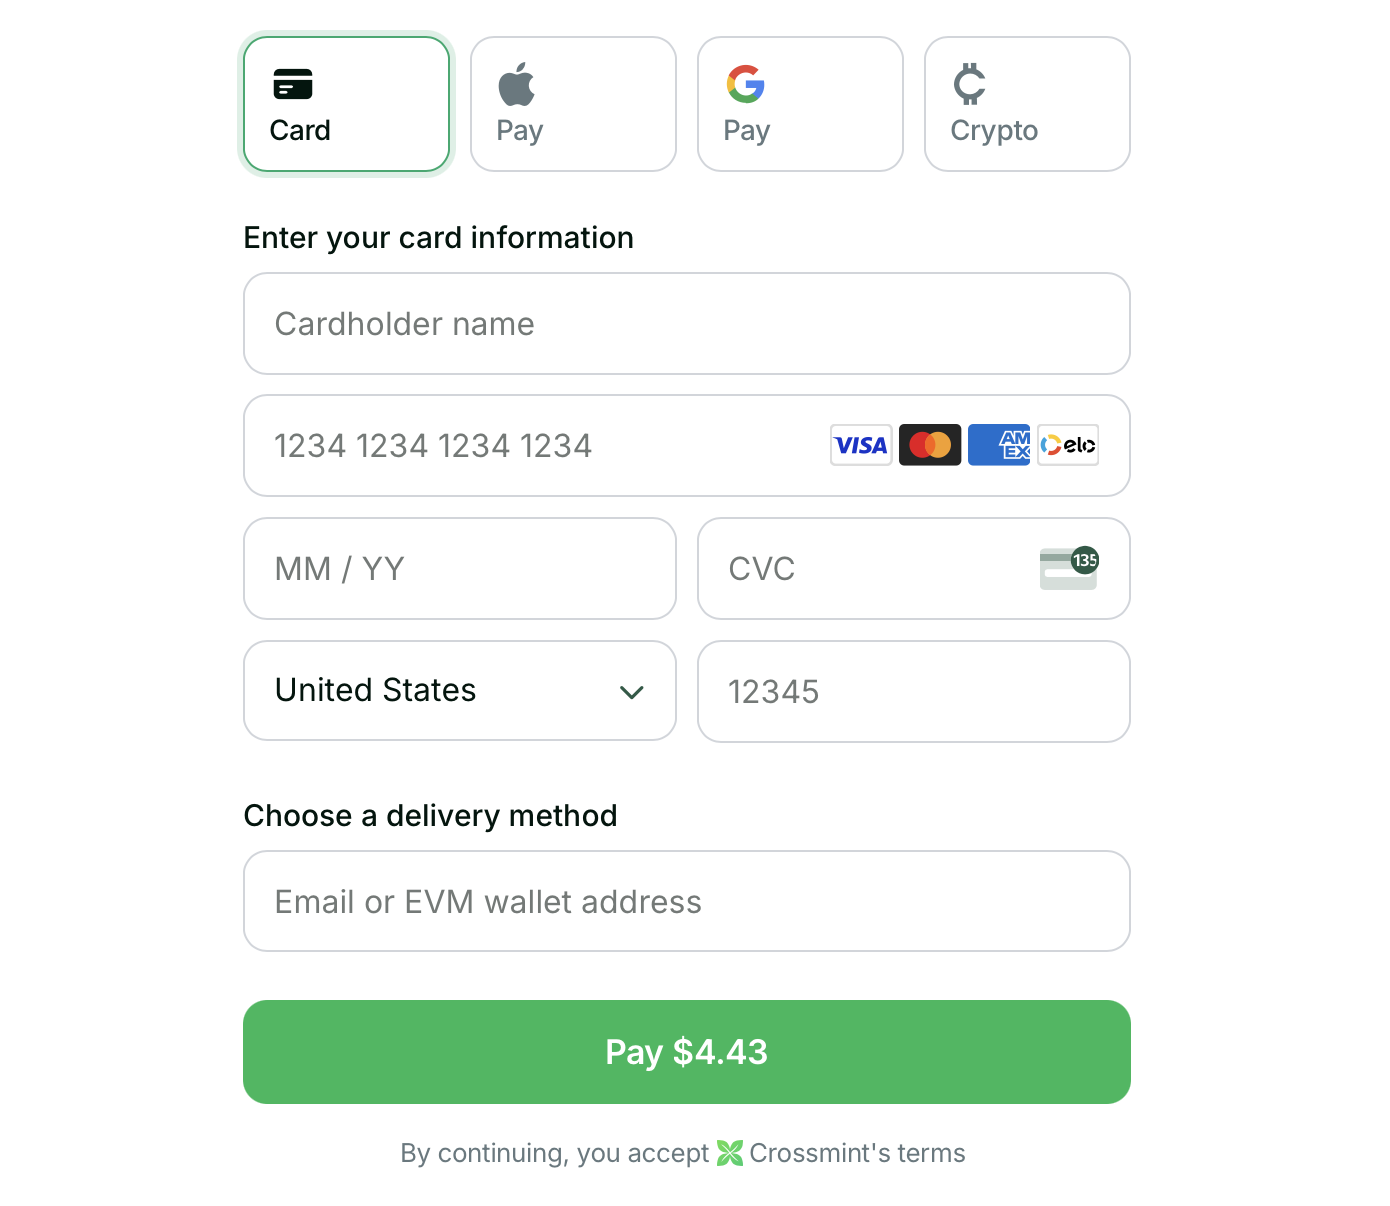
In this guide, you will create a web app with Next.js which allows customers to buy NFTs with credit card and crypto payments, using Crossmint's embedded checkout. Crossmint also supports payments for [crypto onramp](/onramp/quickstarts/react), [memecoins](/payments/headless/quickstarts/credit-card-memecoin-cko), and other onchain assets (ERC20 tokens, ERC721 tokens, and ERC1155 tokens).
If you want to get started immediately, you can clone a repo with a functioning embedded checkout here: [https://github.com/Crossmint/crossmint-embedded-demo](https://github.com/Crossmint/crossmint-embedded-demo). If you want to get started step by step, continue following the guide below.
### Basic Integration
Perfect for getting started quickly with a simple checkout flow.
Create `.env.local` in your project root:
```sh theme={null}
NEXT_PUBLIC_CLIENT_API_KEY="_YOUR_CLIENT_API_KEY_" # From API Keys page
NEXT_PUBLIC_COLLECTION_ID="_YOUR_COLLECTION_ID_" # From Collection details page
```
Replace your home page (e.g `{root_dir}/app/page.tsx`) with:
```tsx theme={null}
"use client";
import { CrossmintProvider, CrossmintEmbeddedCheckout } from "@crossmint/client-sdk-react-ui";
export default function Home() {
const clientApiKey = process.env.NEXT_PUBLIC_CLIENT_API_KEY as string;
const collectionId = process.env.NEXT_PUBLIC_COLLECTION_ID as string;
return (
);
}
```
Navigate to the directory your package.json is to run the app
```bash theme={null}
cd embedded-checkout/crossmint-embedded-checkout-demo
```
### Advanced Integration
Need purchase tracking, multiple NFT purchases at once, or more customization? Here's a complete setup with additional features:
```tsx theme={null}
"use client";
import { useEffect } from "react";
import {
CrossmintProvider,
CrossmintCheckoutProvider,
CrossmintEmbeddedCheckout,
useCrossmintCheckout,
} from "@crossmint/client-sdk-react-ui";
// Component with purchase tracking
function Checkout() {
const { order } = useCrossmintCheckout();
const collectionId = process.env.NEXT_PUBLIC_COLLECTION_ID as string;
useEffect(() => {
if (order && order.phase === "completed") {
console.log("Purchase completed!");
// Handle successful purchase
}
}, [order]);
return (
);
}
// Main component with providers
export default function Home() {
const clientApiKey = process.env.NEXT_PUBLIC_CLIENT_API_KEY as string;
return (
## Introduction
In this guide, you will create a web app with Next.js which allows customers to buy NFTs with credit card and crypto payments, using Crossmint's embedded checkout. Crossmint also supports payments for [crypto onramp](/onramp/quickstarts/react), [memecoins](/payments/headless/quickstarts/credit-card-memecoin-cko), and other onchain assets (ERC20 tokens, ERC721 tokens, and ERC1155 tokens).
If you want to get started immediately, you can clone a repo with a functioning embedded checkout here: [https://github.com/Crossmint/crossmint-embedded-demo](https://github.com/Crossmint/crossmint-embedded-demo). If you want to get started step by step, continue following the guide below.
### Basic Integration
Perfect for getting started quickly with a simple checkout flow.
Create `.env.local` in your project root:
```sh theme={null}
NEXT_PUBLIC_CLIENT_API_KEY="_YOUR_CLIENT_API_KEY_" # From API Keys page
NEXT_PUBLIC_COLLECTION_ID="_YOUR_COLLECTION_ID_" # From Collection details page
```
Replace your home page (e.g `{root_dir}/app/page.tsx`) with:
```tsx theme={null}
"use client";
import { CrossmintProvider, CrossmintEmbeddedCheckout } from "@crossmint/client-sdk-react-ui";
export default function Home() {
const clientApiKey = process.env.NEXT_PUBLIC_CLIENT_API_KEY as string;
const collectionId = process.env.NEXT_PUBLIC_COLLECTION_ID as string;
return (
);
}
```
Navigate to the directory your package.json is to run the app
```bash theme={null}
cd embedded-checkout/crossmint-embedded-checkout-demo
```
### Advanced Integration
Need purchase tracking, multiple NFT purchases at once, or more customization? Here's a complete setup with additional features:
```tsx theme={null}
"use client";
import { useEffect } from "react";
import {
CrossmintProvider,
CrossmintCheckoutProvider,
CrossmintEmbeddedCheckout,
useCrossmintCheckout,
} from "@crossmint/client-sdk-react-ui";
// Component with purchase tracking
function Checkout() {
const { order } = useCrossmintCheckout();
const collectionId = process.env.NEXT_PUBLIC_COLLECTION_ID as string;
useEffect(() => {
if (order && order.phase === "completed") {
console.log("Purchase completed!");
// Handle successful purchase
}
}, [order]);
return (
);
}
// Main component with providers
export default function Home() {
const clientApiKey = process.env.NEXT_PUBLIC_CLIENT_API_KEY as string;
return (
);
}
```
This advanced example showcases: - Multiple NFTs in one checkout - Purchase status tracking - Preferred payment
methods and currencies - Email-based NFT delivery - Language settings Learn more in our guides: - [Payment
Methods](/payments/embedded/guides/payment-methods) - [Multi-purchases](/payments/pay-button/guides/item-selection#multiple-item-orders) -
[React Hooks](/payments/embedded/guides/hooks)
### Testing Your Integration
This demo uses the staging environment: - Use [test credit
cards](/payments/advanced/testing-tips#test-credit-card-numbers) for payments - Get test USDC from our
[faucet](/payments/advanced/testing-tips#getting-test-tokens) - Check [price
limits](/payments/advanced/testing-tips#limits-in-staging) for staging
## All Set!
You've successfully integrated card and crypto payments with the Crossmint Embedded Checkout!
Remember this demo is built on staging, so the digital assets will show up on the testnets. To launch on production,
check the [production launch checklist](/payments/advanced/production-launch). You will need to contact
[Sales](https://www.crossmint.com/contact/sales) to enable the embedded checkout on production.
## Next Steps
### Customize the UI and Behavior Further
Learn how to customize the look and feel of your checkout
Configure available payment options for your users
Use React hooks to build custom checkout experiences
### Advanced Topics