Bring Your Own Auth
Bring your own auth to your wallet
Crossmint wallets can be used with all major authentication providers (such as Cognito, Auth0, Firebase, Stytch, etc.) as well as other wallet providers (like Privy and Dynamic).
For Privy and Dynamic, you can use their embedded wallets as signers for Crossmint wallets.
Prerequisites
- API Key: Ensure you have an API key with the scopes:
wallets.create
.
Using your own auth provider
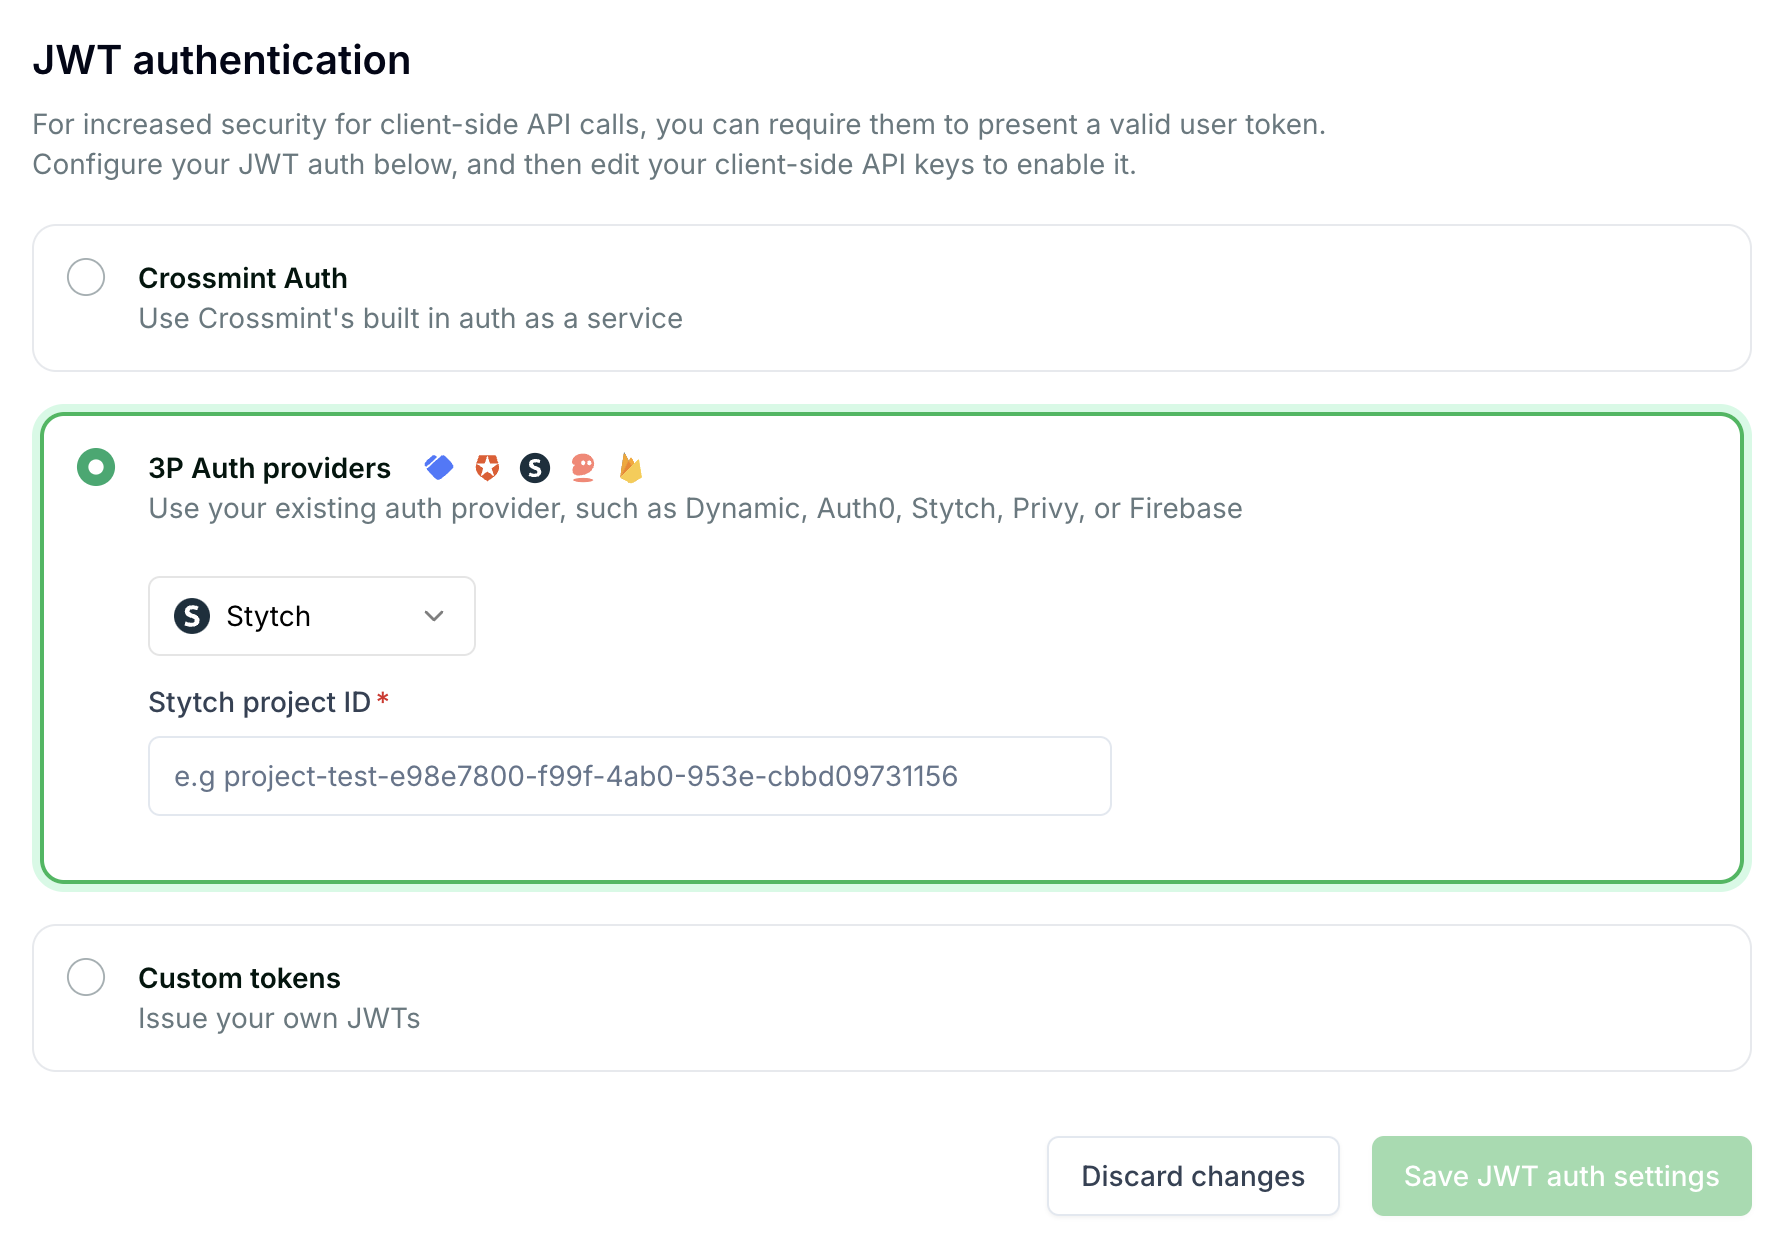
Configure JWT Authentication in the Crossmint Console
- Navigate to your project in the Crossmint Console.
- Go to the API Keys section from the sidebar.
- Scroll down to the JWT authentication section.
- Choose your preferred authentication method:
- 3P Auth providers: Select from supported providers such as Dynamic, Auth0, Stytch, Privy, or Firebase. Enter any required environment IDs or configuration details.
- Custom tokens: Opt to issue and manage your own JWTs.
- After making your selection and providing any necessary details, click Save JWT auth settings to apply your configuration.
Add the Crossmint providers to your app
Add the necessary Crossmint providers to your app together with your own auth provider. With the current setup, a wallet will be created automatically on login.
Passthrough the jwt information to the Crossmint provider
Set the user in the auth provider.
Configure JWT Authentication in the Crossmint Console
- Navigate to your project in the Crossmint Console.
- Go to the API Keys section from the sidebar.
- Scroll down to the JWT authentication section.
- Choose your preferred authentication method:
- 3P Auth providers: Select from supported providers such as Dynamic, Auth0, Stytch, Privy, or Firebase. Enter any required environment IDs or configuration details.
- Custom tokens: Opt to issue and manage your own JWTs.
- After making your selection and providing any necessary details, click Save JWT auth settings to apply your configuration.
Add the Crossmint providers to your app
Add the necessary Crossmint providers to your app together with your own auth provider. With the current setup, a wallet will be created automatically on login.
Passthrough the jwt information to the Crossmint provider
Set the user in the auth provider.