Installation
You now have access to two nodes: Crossmint Wallets and Crossmint Checkout. You can close the Settings page and get ready to build your first workflow.
Get Started
Create a wallet node
- Click the + button on the top left of your screen to start a new workflow.
- Click the + button in the middle of your screen to add a new node.
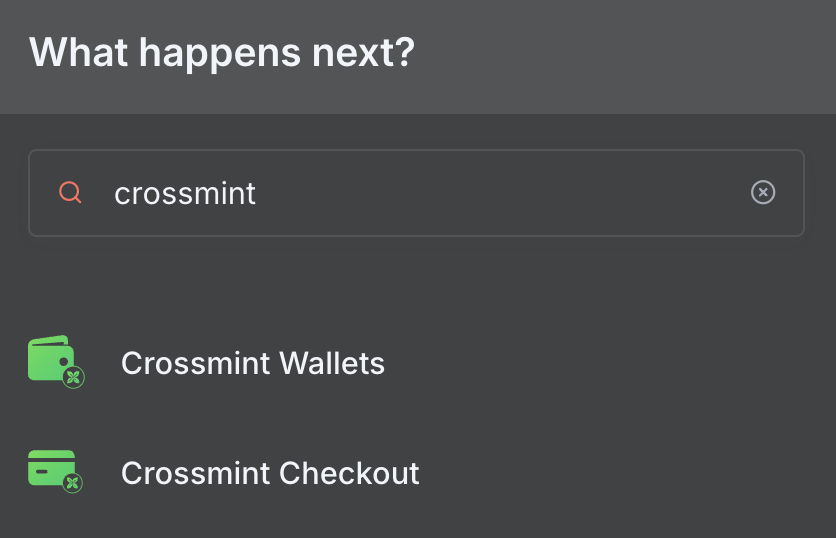
Search for Crossmint and you will see:
- Crossmint Wallets
- Crossmint Checkout
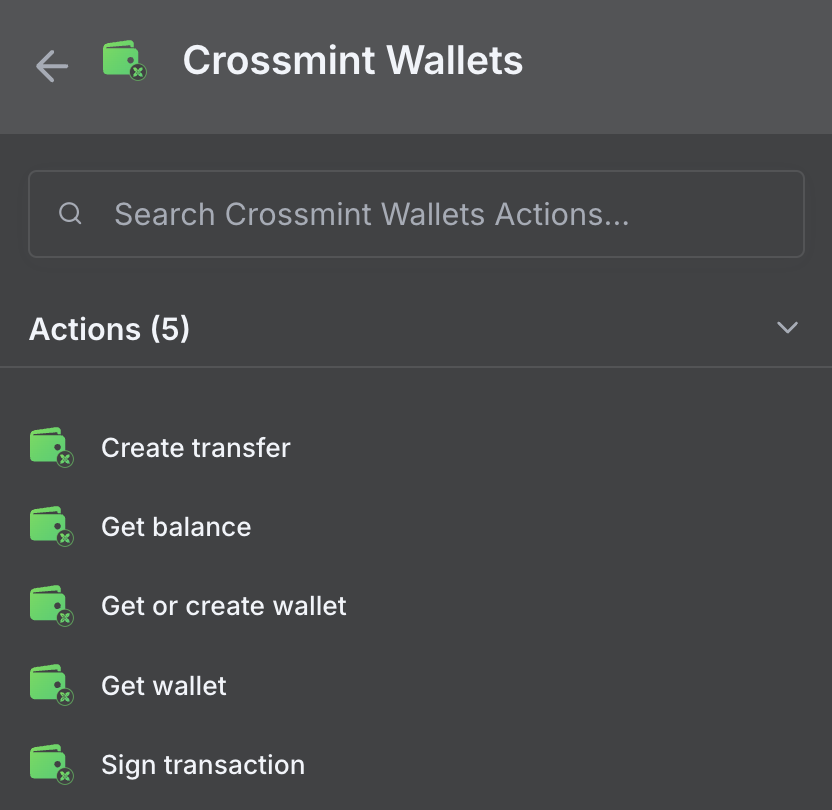
- For this example, choose the Get or Create Wallet operation.
Obtain a Crossmint credential
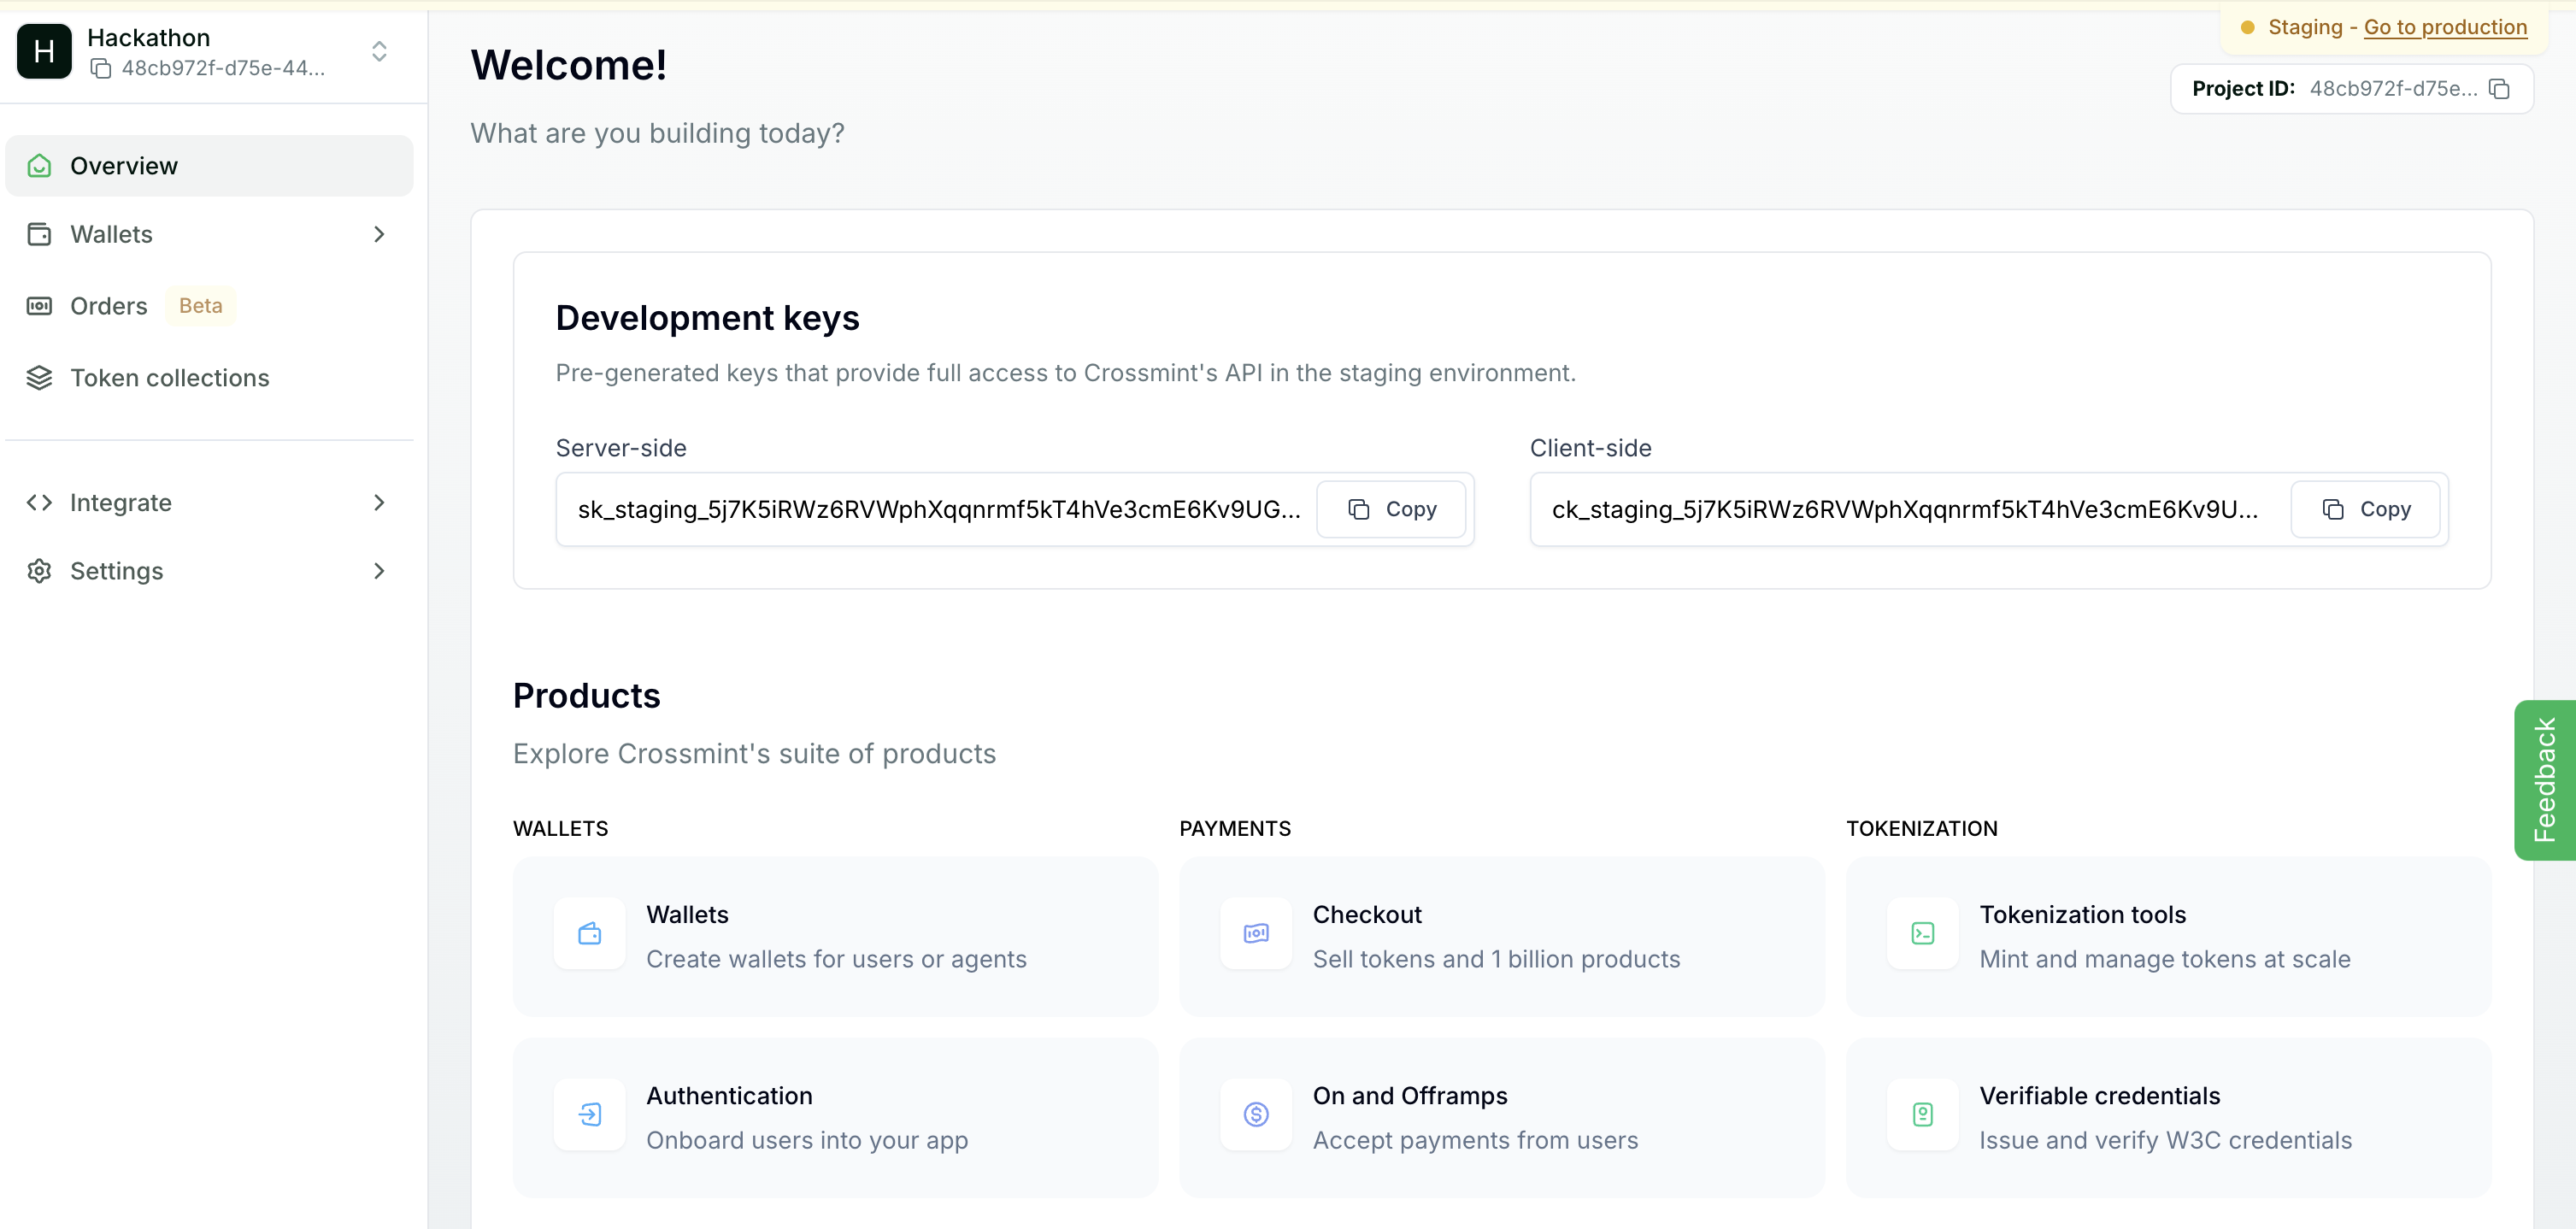
- Create an account on Crossmint Console.
- Copy your server-side API key from the project settings.
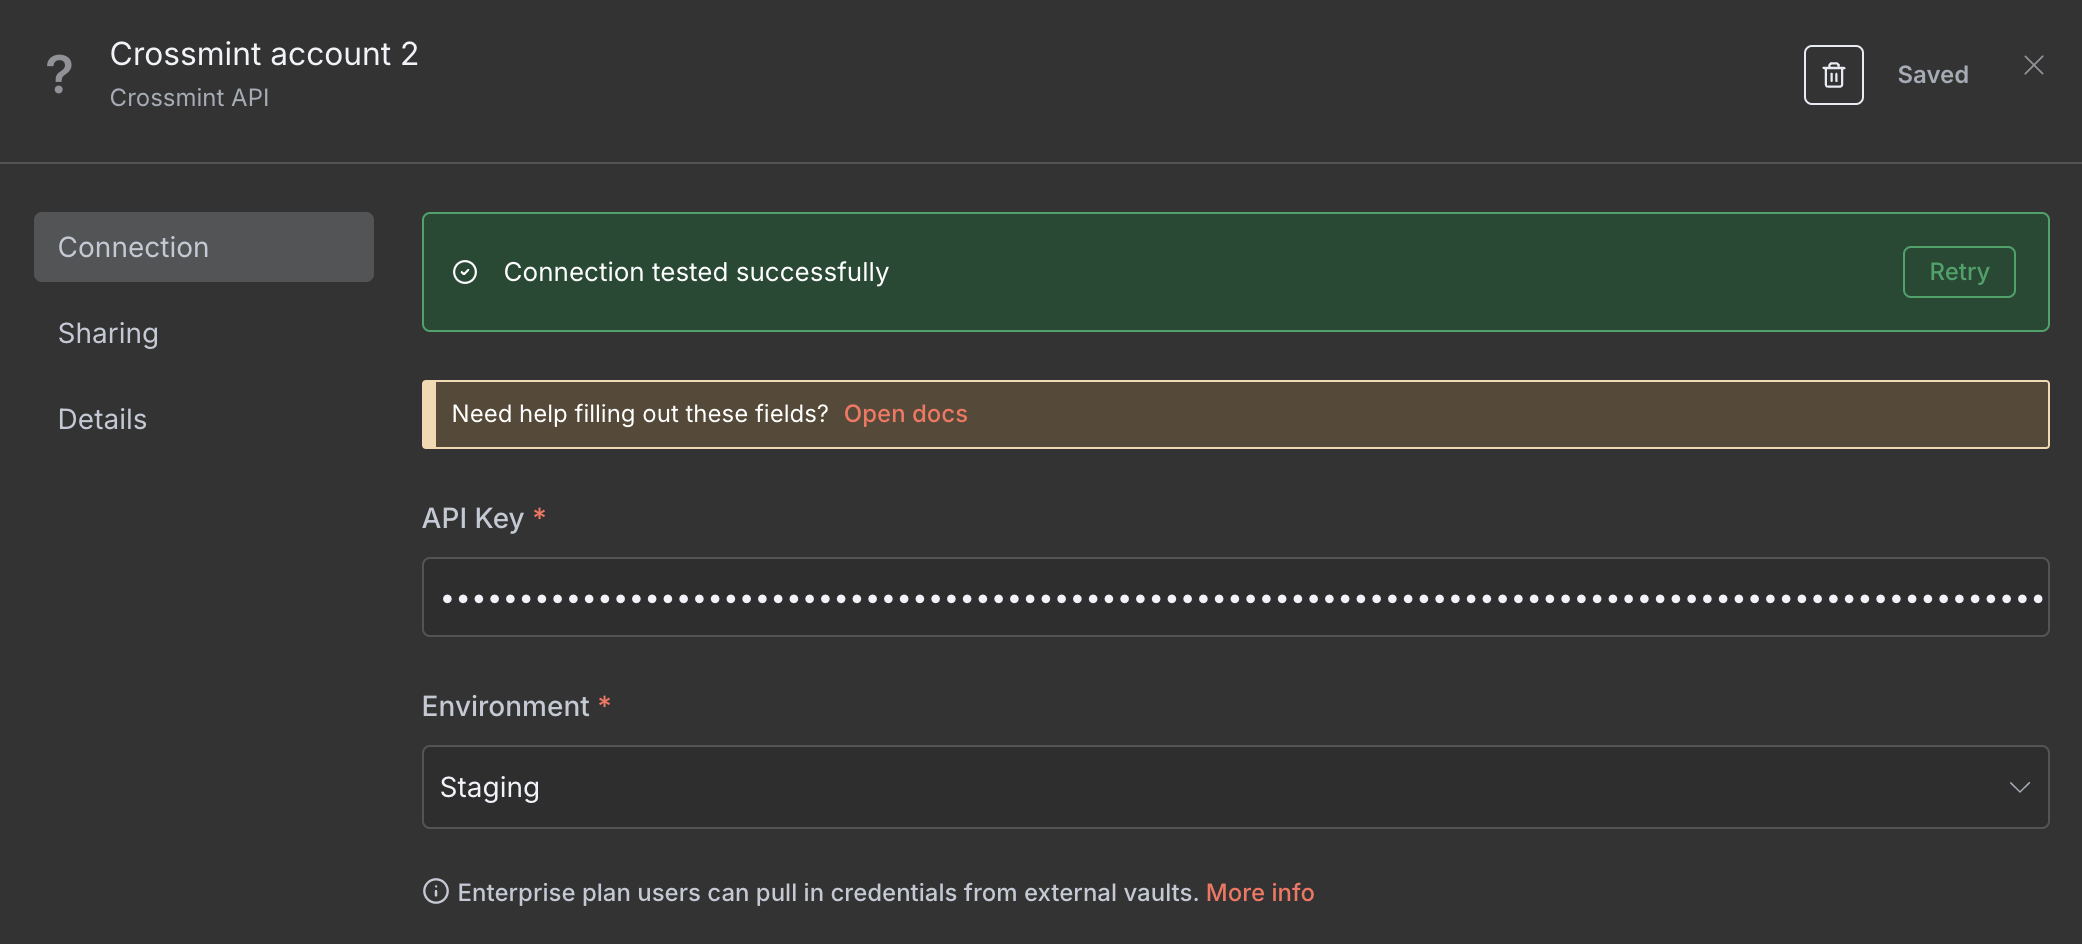
- Back in n8n, in the Crossmint Wallets node, open Credential to connect with and choose Create New.
- Enter your Crossmint API Key and hit Save.
To test this flow in production, obtain a Crossmint API key from the Crossmint Console.
Configure the wallet
Specify the wallet’s required parameters: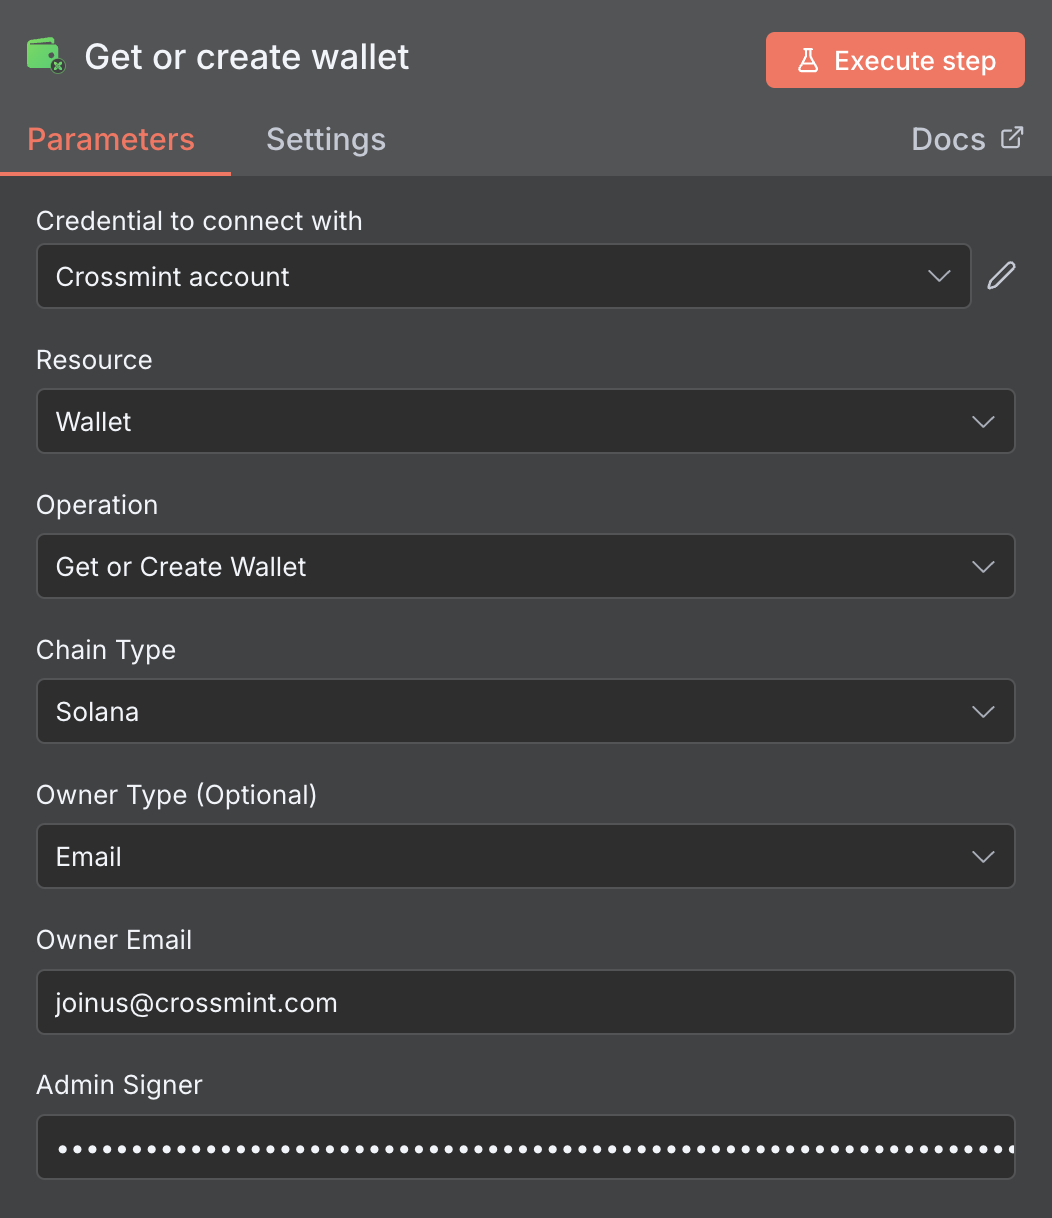
- Owner Type: Select
Email - Owner Details: Enter an email address you control
- Admin Signer: Set this to a private key you can generate from here.
Execute the workflow
Click Execute Node to run the workflow. You should see a successful response with your wallet details.
Fund the wallet
Use Circle’s USDC faucet to fund the wallet
Add node to get the wallet's balance
- Add another Crossmint Wallets node to your workflow
- Select the Get Balance operation
- Configure it to use the wallet address returned from the previous step
Next Steps
Congratulations! You’ve created your first Crossmint workflow in n8n. Here’s what you can explore next:Example Workflows
Try ready-to-use workflow templates
Ask ChatGPT
Ask Crossmint Expert GPT for n8n guidance