- Navigate to the Webhooks page in the console.
- Click Add Endpoint.
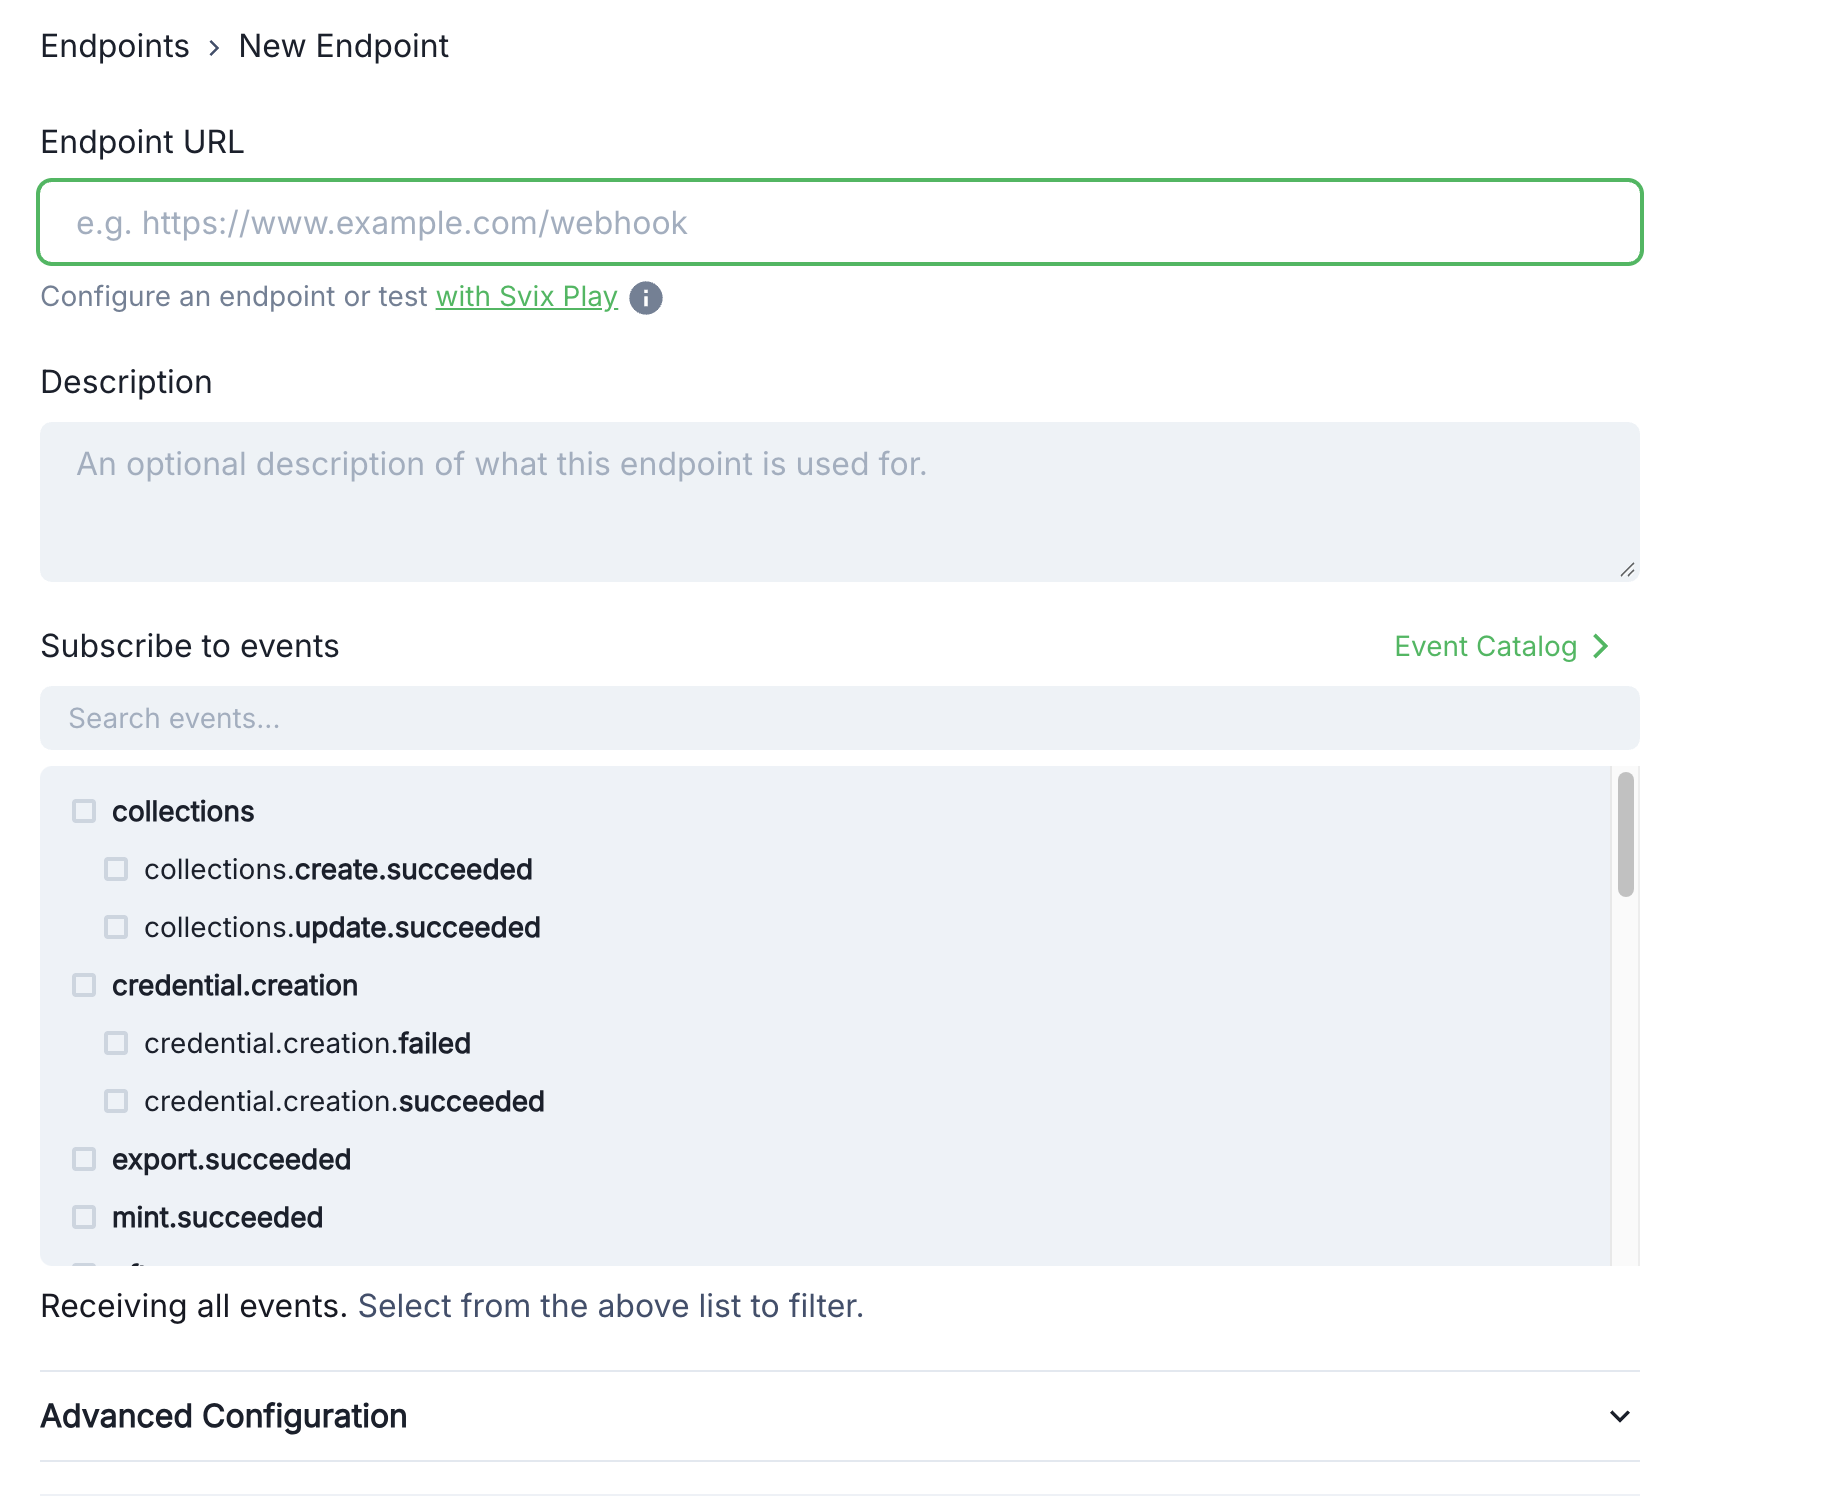
- Provide the URL where you want to receive messages.
- Select the event types you want to listen to.
- Click Create.
FAQs
What types of events can I subscribe to with webhooks?
What types of events can I subscribe to with webhooks?
There are many events available to subscribe to from all our products. Some examples include:
- Collection creation
- NFT minting
- NFT edits
- Transaction confirmations
- Transaction failures
How can I verify that a webhook request is legitimate?
How can I verify that a webhook request is legitimate?
To verify a webhook request is legitimate, you need to verify the signature and timestamp. You can learn more about it in the Verify webhooks section.
How do I handle webhook retries?
How do I handle webhook retries?
Crossmint automatically retries webhooks if your endpoint doesn’t acknowledge its receipt, or throws an error. We will attempt to deliver the webhook 8 times:
- Immediately
- 5 seconds
- 5 minutes
- 30 minutes
- 2 hours
- 5 hours
- 10 hours
- 10 hours (in addition to the previous)
What HTTP response code should my webhook endpoint return?
What HTTP response code should my webhook endpoint return?
To indicate that a webhook has been processed, return a 2xx (status code 200-299) response to the webhook message within a 15 seconds timeframe.
Why are my webhooks failing?
Why are my webhooks failing?
Some typical reasons why webhooks fail are:
- Check that the enpdpoint URL is correct and that it’s expecting a POST request
- Check that the endpoint is reachable from the public internet. Make sure that CSRF protection is disabled for this endpoint.
- Check that the endpoint is returning a 2xx response code
- Check that the payload signature and timestamp are verified correctly. Remember not to modify the body string of the webhook before processing it.