In this quickstart you will learn how to create, issue, and verify credentials.
What are credentials?
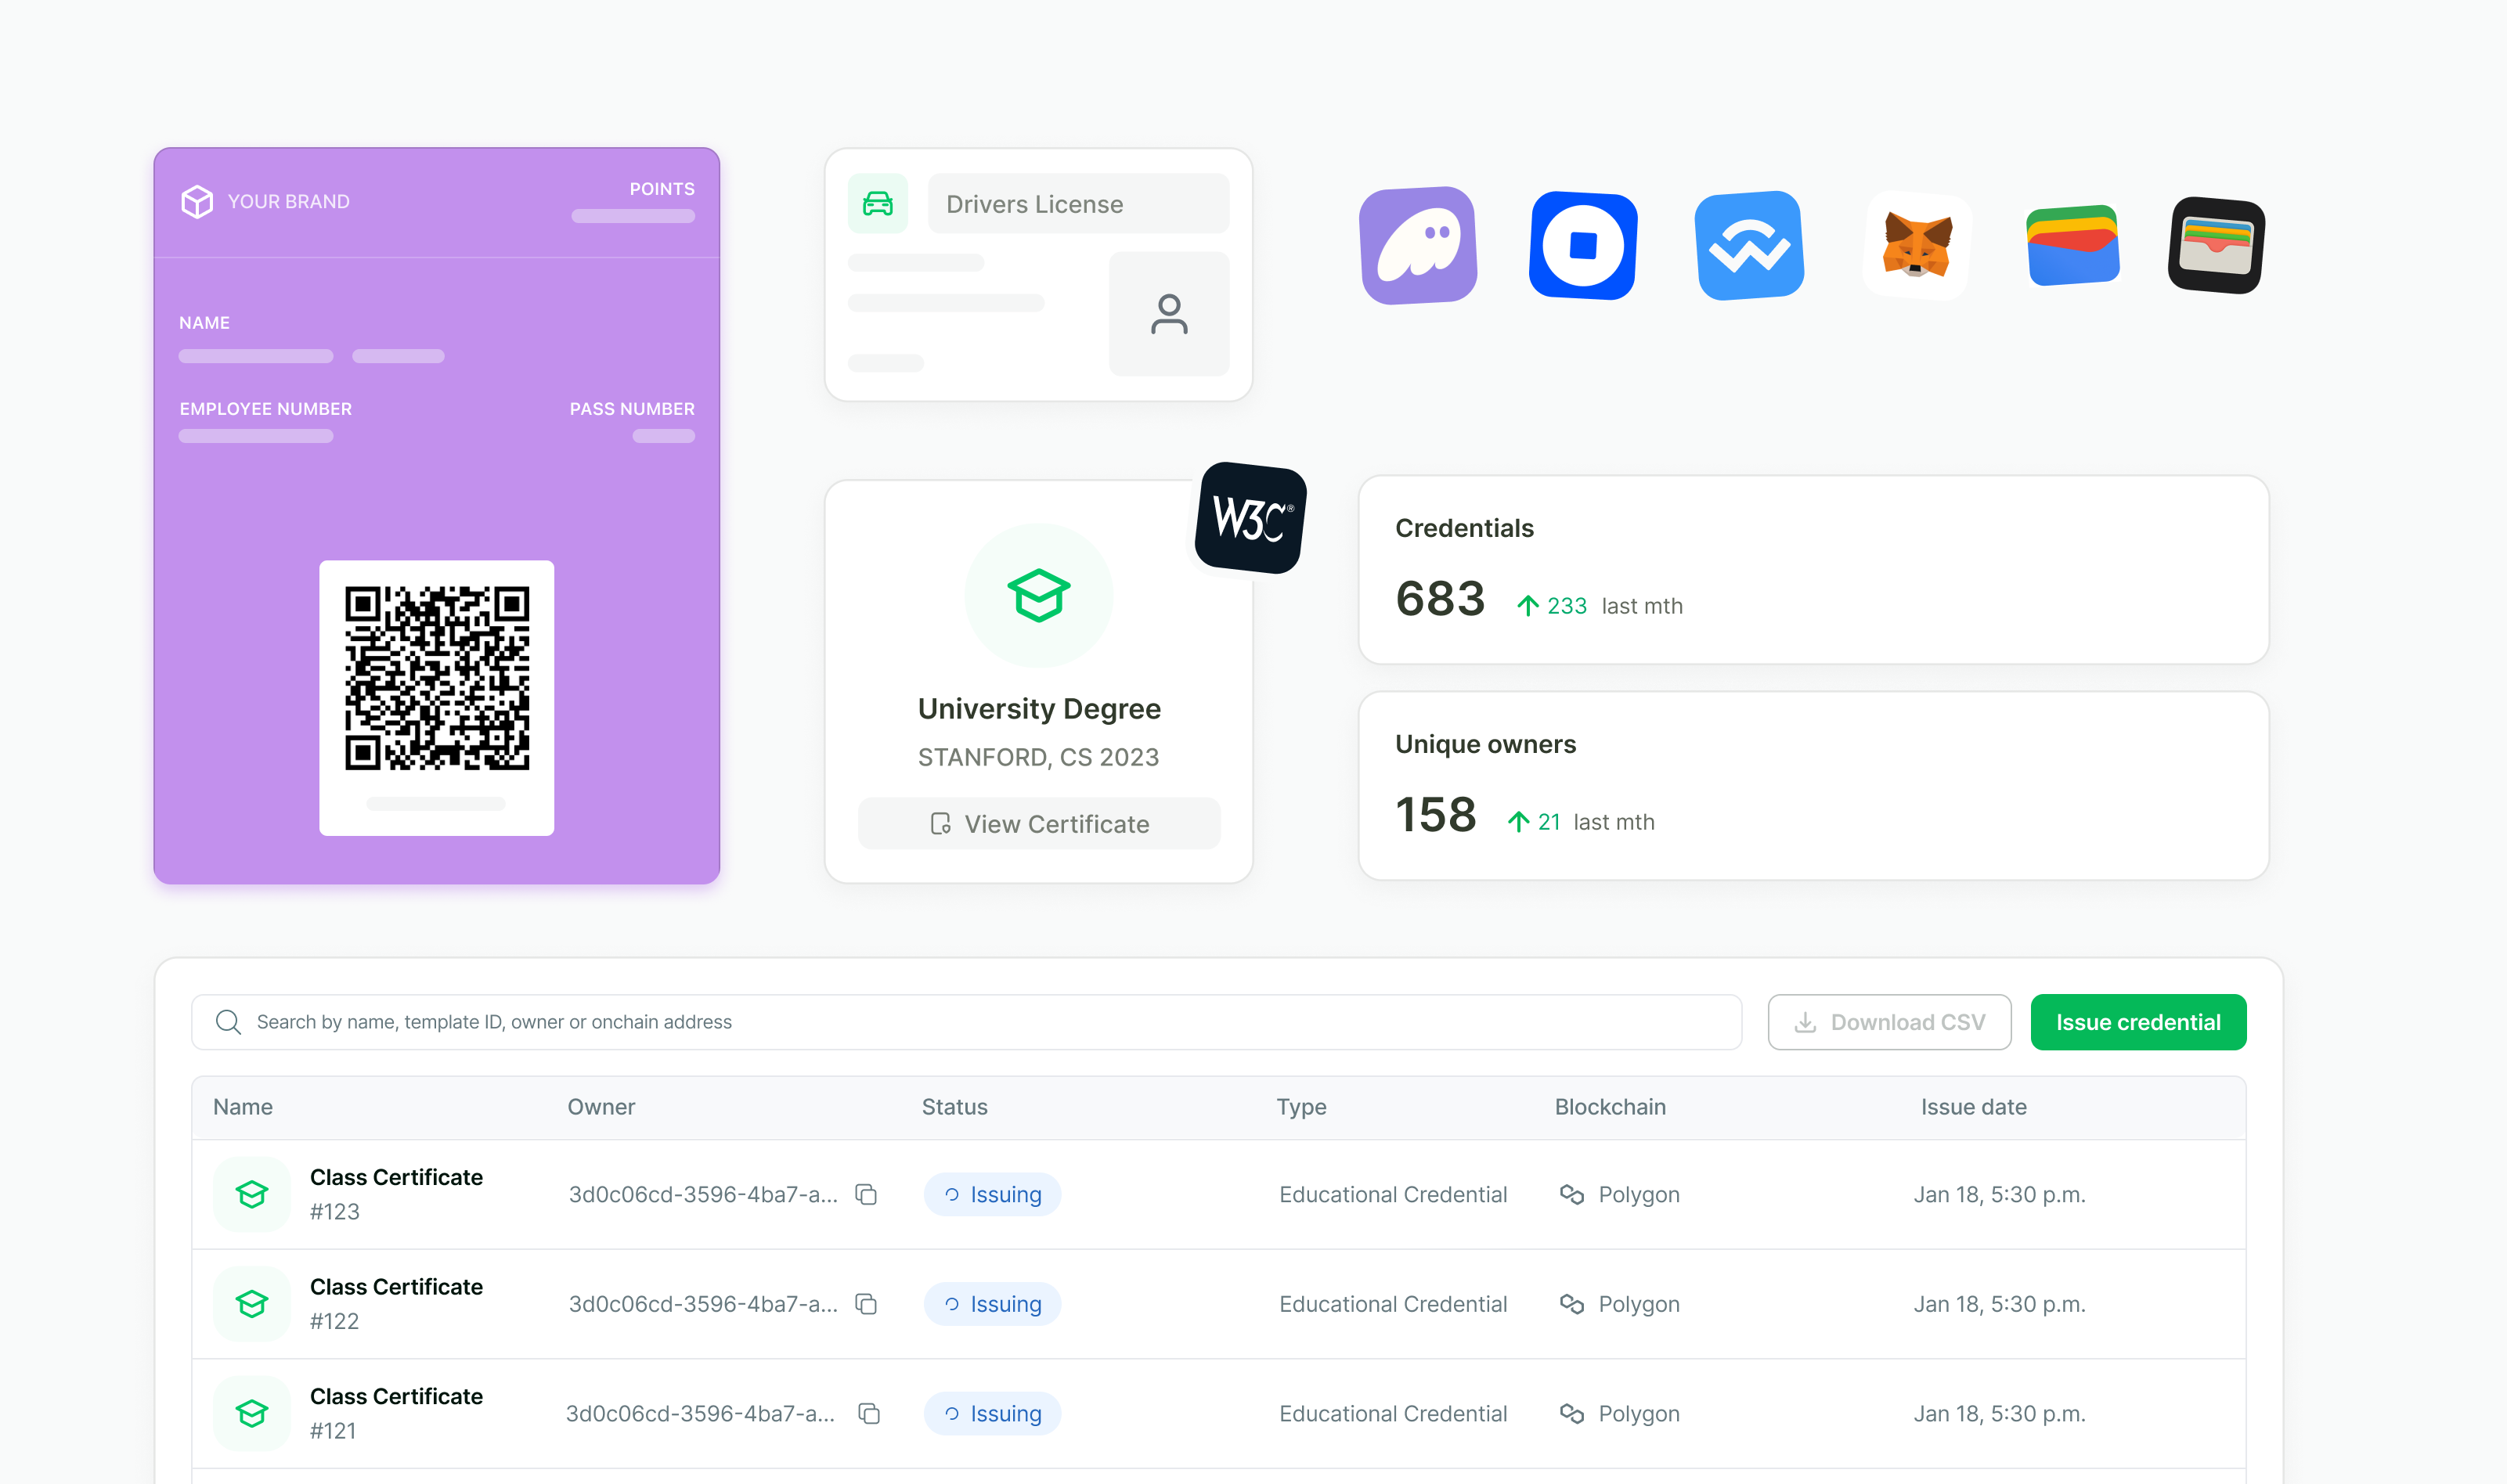
A digital credential is an electronic record issued by a trusted source that certifies specific information about a person or entity. Crossmint makes it easy to issue, manage, and verify credentials onchain, following the W3C VC standard .
For a comprehensive guide on Verifiable Credentials, please visit the Verifiable Credentials section .
Verifiable Credentials is an Enterprise feature. Contact Sales
for access.
Integration steps
1. Create a Developer Account
To get started, create a developer account in the Crossmint Staging Console . Open that link, sign in, and accept the dialog to continue.
2. Get an API Key
Once you log in to the console, the next step is to create an API key .
Click the "Integrate" tab and click on the "API Keys" option on top.
Within the “Server-side keys” section, click the “Create new key” button in the top right.
Then, check the scopes credentials.create
, credentials.read
, and credentials:templates.create
under the “Verifiable Credentials”
category and create your key. Save this key for the next step.
3. Create a Credential Template
To mint a credential, we need to create a credential template that follows an already defined credential type. In this quickstart we will use the already-created CourseCompletionCertificate
type.
const apiKey = "YOUR_API_KEY" ;
const env = "staging" ; // or "www"
const url = `https:// ${ env } .crossmint.com/api/v1-alpha1/credentials/templates` ;
const options = {
method: "POST" ,
headers: {
accept: "application/json" ,
"content-type" : "application/json" ,
"x-api-key" : apiKey ,
},
body: JSON . stringify ({
credentials: {
type: "crossmint:bedea4c5-4cea-425b-99c7-797ecbc8bc13:CourseCompletionCertificate" ,
encryption: "none" ,
storage: "crossmint" ,
subject: {
properties: {
course: {
type: "string" ,
title: "Course" ,
description: "Course name" ,
},
grade: {
type: "string" ,
title: "Grade" ,
description: "Grade received" ,
},
},
required: [ "course" , "grade" ],
},
},
metadata: {
name: "Certificate of Completion" ,
description: "A certificate issued upon completion of a course" ,
imageUrl: "https://www.crossmint.com/assets/crossmint/logo.png" ,
},
chain: "polygon-amoy" ,
}),
};
fetch ( url , options )
. then (( res ) => res . json ())
. then (( json ) => console . log ( json ))
. catch (( err ) => console . error ( "error:" + err ));
{
"id" : "a9e3016b-66f0-40ab-8d72-6546fddc7b72" ,
"metadata" : {
"description" : "A certificate issued upon completion of a course" ,
"name" : "Certificate of Completion" ,
"imageUrl" : "ipfs://QmaToZn4VEjF7q4CAudPaNka6AD484xuuEZSXmTLJPDLVE"
},
"fungibility" : "non-fungible" ,
"onChain" : { "chain" : "polygon-amoy" , "type" : "erc-721" },
"subscription" : { "enabled" : false },
"actionId" : "a9e3016b-66f0-40ab-8d72-6546fddc7b72"
}
Save the id
from the response as your TEMPLATE_ID
for the next step.
4. Issue a Credential
Now, let’s issue a credential using our template:
const apiKey = "YOUR_API_KEY" ;
const env = "staging" ; // or "www"
const templateId = "YOUR_TEMPLATE_ID" ;
const recipientEmail = "TEST_EMAIL_ADDRESS" ;
const url = `https:// ${ env } .crossmint.com/api/v1-alpha1/credentials/templates/ ${ templateId } /vcs` ;
const options = {
method: "POST" ,
headers: {
accept: "application/json" ,
"content-type" : "application/json" ,
"x-api-key" : apiKey ,
},
body: JSON . stringify ({
recipient: `email: ${ recipientEmail } :polygon-amoy` ,
credential: {
// The CourseCompletionCertificate credential type requires course and grade declarations
subject: {
course: "Blockchain 101" ,
grade: "A" ,
},
expiresAt: "2034-02-02" ,
},
}),
};
fetch ( url , options )
. then (( res ) => res . json ())
. then (( json ) => console . log ( json ))
. catch (( err ) => console . error ( "error:" + err ));
{
"id" : "6728f773-61af-4732-a34f-b5a50d8b9872" ,
"onChain" : {
"status" : "pending" ,
"chain" : "polygon-amoy" ,
"contractAddress" : "0x45c9597b5441289C134E554990cdb647f65df5FB"
},
"credentialId" : "urn:uuid:e6b3dc76-a337-437b-ac1b-3d330e66e1a6" ,
"actionId" : "6728f773-61af-4732-a34f-b5a50d8b9872"
}
Save the credential id
from the response for the next step.
5. Retrieve a Credential
To retrieve a credential:
const apiKey = "YOUR_API_KEY" ;
const env = "staging" ; // or "www"
const credentialId = "YOUR_CREDENTIAL_ID" ;
const url = `https:// ${ env } .crossmint.com/api/v1-alpha1/credentials/ ${ credentialId } ` ;
const options = {
method: "GET" ,
headers: {
accept: "application/json" ,
"x-api-key" : apiKey ,
},
};
fetch ( url , options )
. then (( res ) => res . json ())
. then (( json ) => console . log ( json ))
. catch (( err ) => console . error ( "error:" + err ));
{
"unencryptedCredential" : {
"id" : "urn:uuid:e6b3dc76-a337-437b-ac1b-3d330e66e1a6" ,
"credentialSubject" : {
"course" : "Blockchain 101" ,
"grade" : "A" ,
"id" : "did:polygon-amoy:0x2da3151C266185c4861b45277dbbe56Cb613963e"
},
"validUntil" : "2034-02-02" ,
"nft" : {
"tokenId" : "1" ,
"chain" : "polygon-amoy" ,
"contractAddress" : "0x45c9597b5441289C134E554990cdb647f65df5FB"
},
"issuer" : {
"id" : "did:polygon-amoy:0x1785A5DE9e0F06791393739De496a0a2c9ACA855"
},
"type" : [ "VerifiableCredential" , "Course completion" ],
"validFrom" : "2025-05-28T14:31:03.514Z" ,
"@context" : [ "https://www.w3.org/ns/credentials/v2" ],
"proof" : {
"verificationMethod" : "did:polygon-amoy:0x1785A5DE9e0F06791393739De496a0a2c9ACA855#evmAddress" ,
"created" : "2025-05-28T14:31:03.514Z" ,
"proofPurpose" : "assertionMethod" ,
"type" : "EthereumEip712Signature2021" ,
"proofValue" : "0x17f624a23b620de2867dbefbeb5214e5693a4b470897302f91f870383d4f5ee7754600d1fb72b73c926fed56aac20724ce87d49e0078e0b13f02734a199ceaa61b" ,
"eip712" : [ Object ]
}
}
}
6. Verify a Credential
To verify a credential’s validity:
const apiKey = "YOUR_API_KEY" ;
const env = "staging" ; // or "www"
const credentialId = "YOUR_CREDENTIAL_ID" ;
const url = `https:// ${ env } .crossmint.com/api/v1-alpha1/credentials/verification/verify` ;
const options = {
method: "POST" ,
headers: {
"accept" : "application/json" ,
"content-type" : "application/json" ,
"x-api-key" : apiKey ,
},
body: JSON . stringify ({
// paste credential object here
credential : {
id: "urn:uuid:e6b3dc76-a337-437b-ac1b-3d330e66e1a6" ,
...
}
})
};
fetch ( url , options )
. then (( res ) => res . json ())
. then (( json ) => console . log ( json ))
. catch (( err ) => console . error ( "error:" + err ));
7. Revoke a Credential (Optional)
If needed, you can revoke a credential:
const apiKey = "YOUR_API_KEY" ;
const env = "staging" ; // or "www"
const credentialId = "YOUR_CREDENTIAL_ID" ;
const url = `https:// ${ env } .crossmint.com/api/v1-alpha1/credentials/ ${ credentialId } ` ;
const options = {
method: "DELETE" ,
headers: {
accept: "application/json" ,
"x-api-key" : apiKey ,
},
};
fetch ( url , options )
. then (( res ) => res . json ())
. then (( json ) => console . log ( json ))
. catch (( err ) => console . error ( "error:" + err ));
{
"actionId" : "15bfe43c-3d5d-4d03-9e20-6dbaf01f038f" ,
"action" : "nfts.delete" ,
"status" : "pending" ,
"data" : {
"chain" : "polygon-amoy" ,
"collection" : {
"id" : "a9e3016b-66f0-40ab-8d72-6546fddc7b72" ,
"contractAddress" : "0x45c9597b5441289C134E554990cdb647f65df5FB"
},
"token" : {
"id" : "6728f773-61af-4732-a34f-b5a50d8b9872" ,
"tokenId" : "1"
}
},
"startedAt" : "2025-05-28T16:53:11.000Z" ,
"resource" : "https://staging.crossmint.com/api/2022-06-09/collections/a9e3016b-66f0-40ab-8d72-6546fddc7b72/nfts/15bfe43c-3d5d-4d03-9e20-6dbaf01f038f"
}
Learn More
For more detailed information about Verifiable Credentials, please visit the dedicated Verifiable Credentials section which includes comprehensive guides on: