Webhooks Overview
Webhooks allow you to track the status of payments and order lifecycle events in your application. They provide real-time notifications for various events like payment processing, NFT minting, and order fulfillment.Webhook Systems by Checkout Version
Crossmint offers different webhook systems for Checkout V2 and V3:Checkout V2 Webhooks (Legacy)
The Checkout V2 webhook system provides basic payment tracking with a single event type:purchase.succeeded- Triggered when an NFT has been successfully purchased and delivered
Checkout V3 Webhooks (Current)
The Checkout V3 webhook system offers comprehensive order lifecycle tracking with multiple event types: Quote Phaseorders.quote.created- Triggered when a new order is createdorders.quote.updated- Triggered when order details are modified
orders.payment.succeeded- Triggered when payment is successfully processedorders.payment.failed- Triggered when payment fails
orders.delivery.initiated- Triggered when delivery beginsorders.delivery.completed- Triggered when delivery succeedsorders.delivery.failed- Triggered when delivery fails
Setting Up Webhooks
1. Create an endpoint route
Using a standard nodejs API server, create an endpoint.I don't have a webserver or want to test locally
I don't have a webserver or want to test locally
You can test locally by installing ngrok and creating a routed endpoint
to a specified port. > Note: Use ngrok only for testing. In production, ensure your endpoint is properly secured
with HTTPS and appropriate access controls.
2. Configure the endpoint
Your endpoint should:- Handle POST requests only
- Parse webhook events from the request body
- Respond with a
200status code to acknowledge receipt
3. Example Webhook Responses
Every Checkout V3 webhook (orders.*) is delivered as { actionId, type, data }:
actionId— the order identifiertype— the event name (for example,orders.delivery.completed)data— the complete order object, identical to the Get Order API response
data.lineItems depend on the order execution mode. exact-out orders (for example, NFT purchases) carry callData (when present) and quantity. exact-in orders (for example, token or memecoin purchases) carry executionParams and maxSlippageBps.
Checkout V2: purchase.succeeded
Checkout V2: purchase.succeeded
Checkout V3: orders.quote.created
Checkout V3: orders.quote.created
Checkout V3: orders.payment.succeeded
Checkout V3: orders.payment.succeeded
Checkout V3: orders.delivery.completed (NFT / exact-out)
Checkout V3: orders.delivery.completed (NFT / exact-out)
Checkout V3: orders.delivery.completed (token / exact-in)
Checkout V3: orders.delivery.completed (token / exact-in)
4. Pass Custom Arguments (Optional)
You can pass custom arguments through Checkout V2 webhooks to track additional information:- User IDs (If you want additional security, sign this ID with a custom key, or send it as a signed JWT, and verify its integrity later on your server)
- Timestamps
- Product SKUs
- Custom metadata
5. Pre & Post Processing
Add your pre and post processing logic when setting up your webhook listener. For example, you can call back to your database when a certain id has succeeded or even use Sendgrid or EmailJS to send an email to a recipient when a mint completes.6. Configure in Crossmint Console
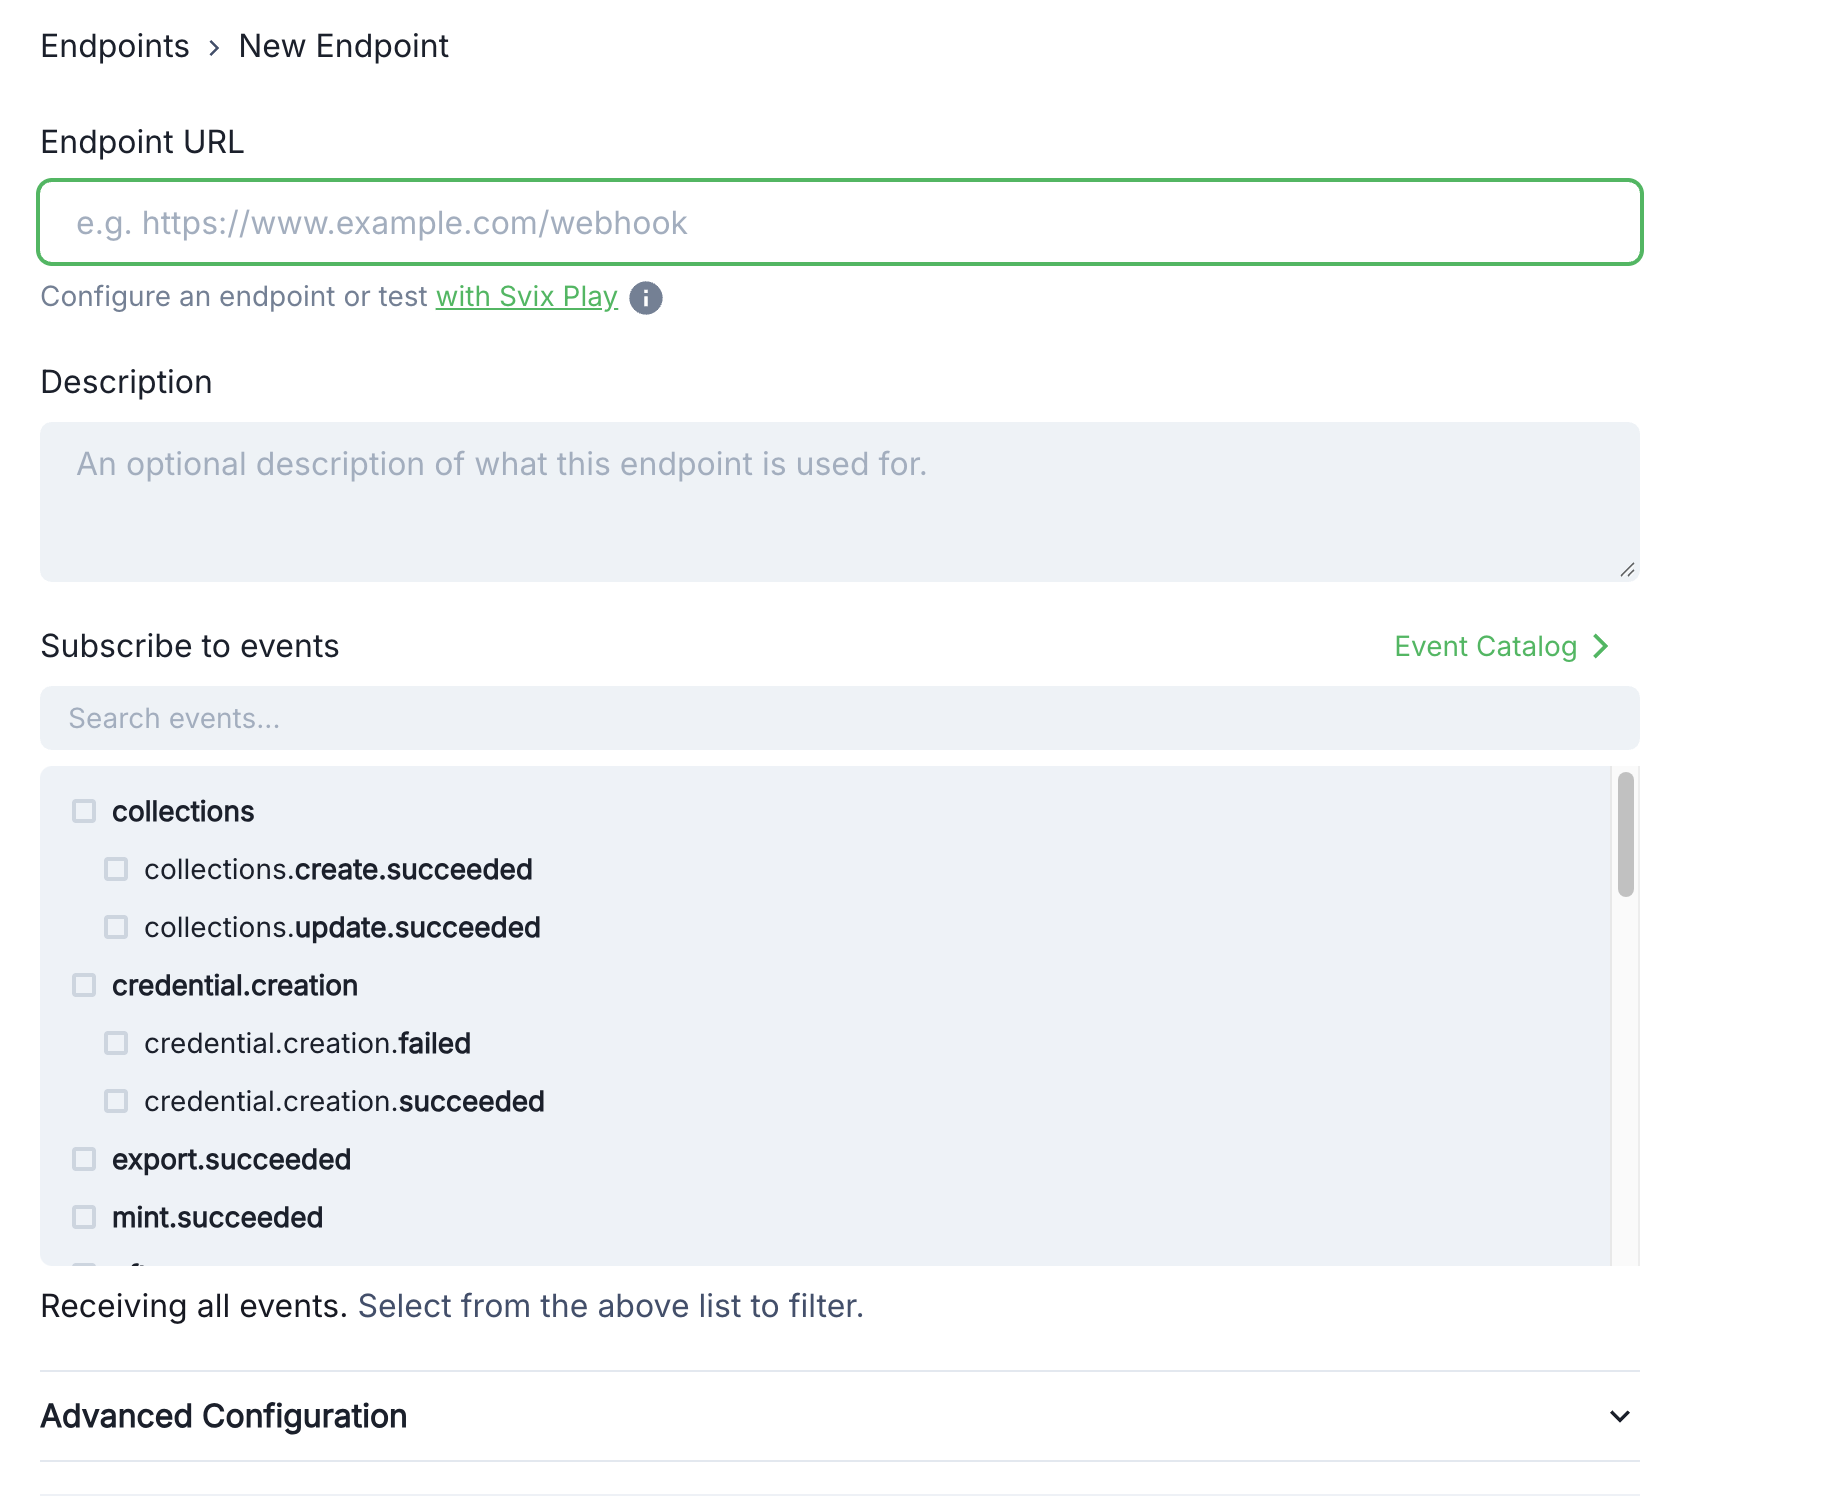
- Navigate to the Webhooks page in the console
- Click Add Endpoint
- Enter your endpoint URL
- Select the webhook events to receive
- Click Create
6. Security
For security, verify webhook signatures using the signing secret from your endpoint details page: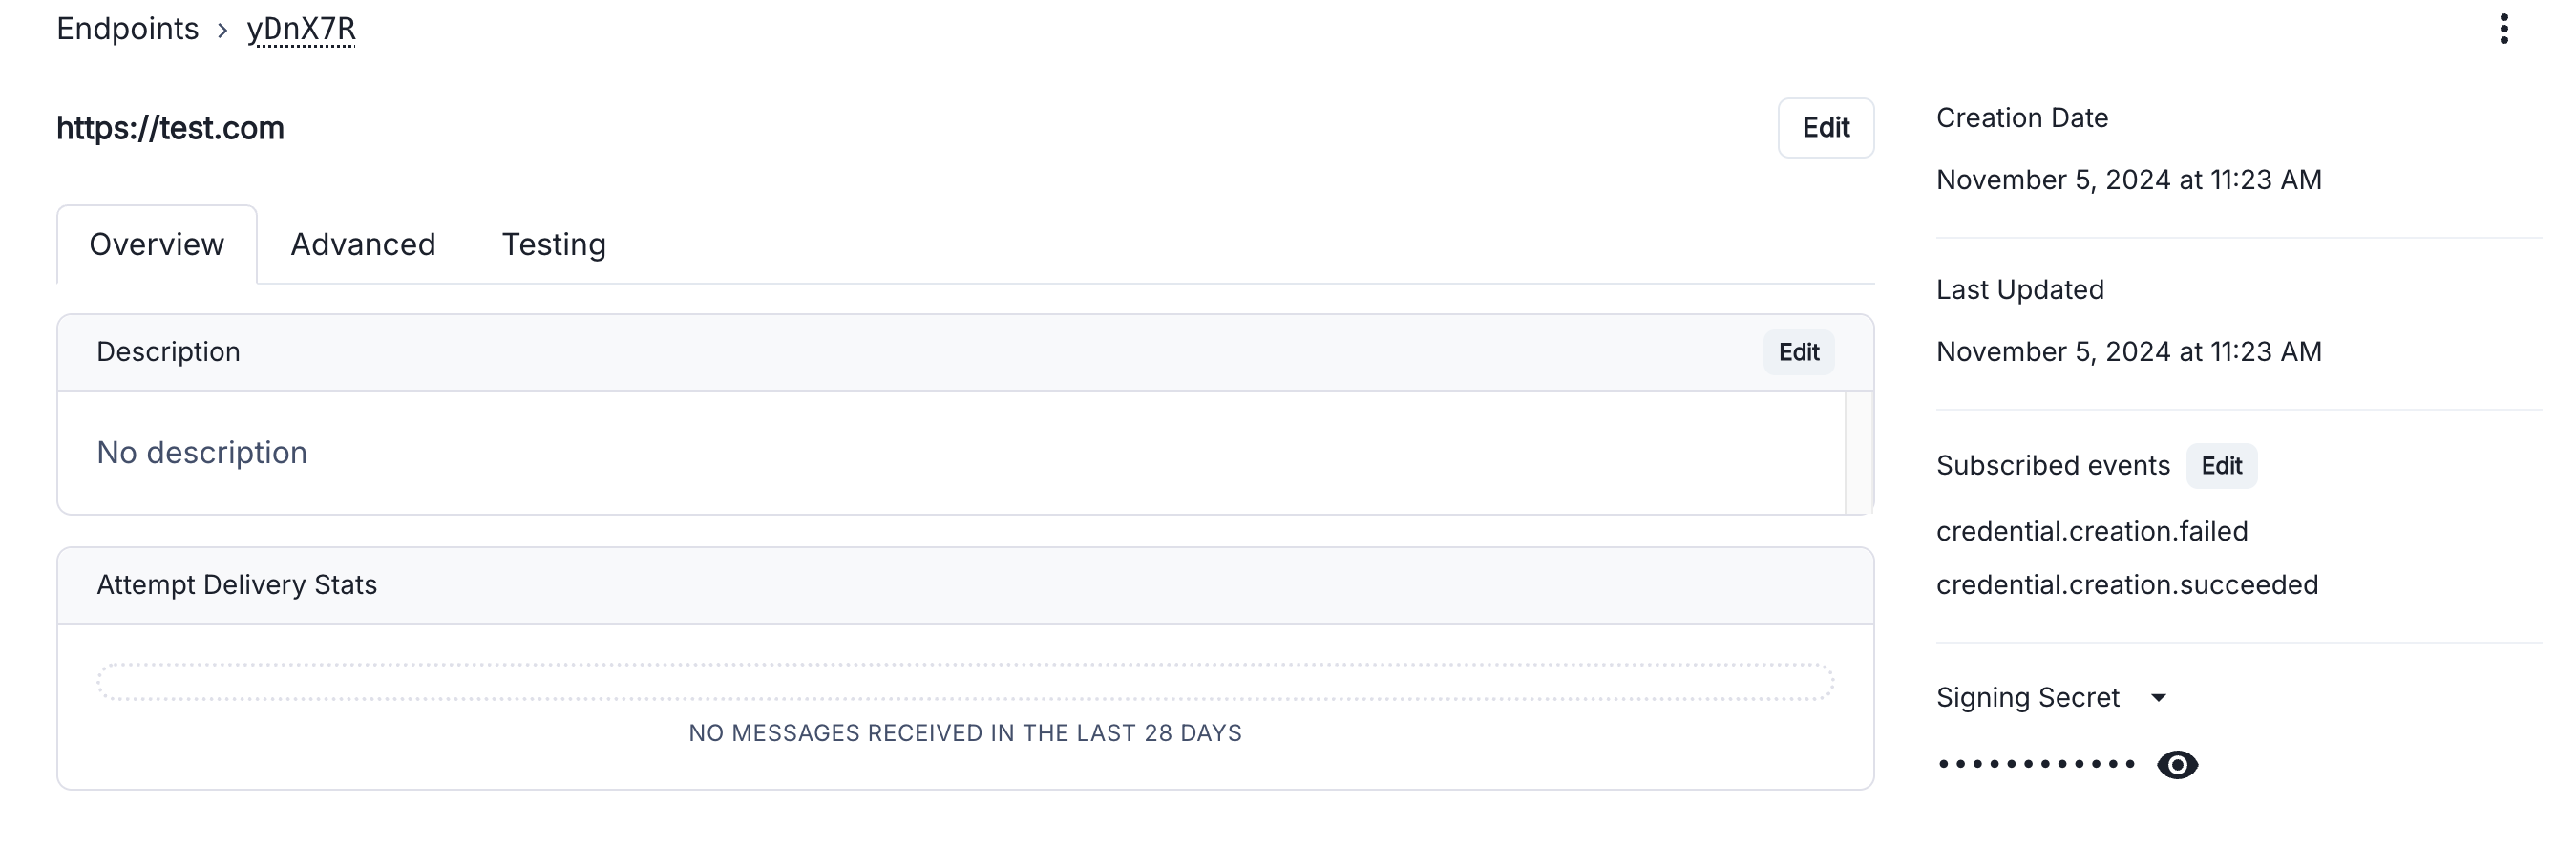
Testing Webhooks
- Use test card number
4242 4242 4242 4242for successful payments - Use
4000 0000 0000 4954to test payment failures - Monitor webhook deliveries in the Console
Watch a video tutorial
Watch a video tutorial