With Crossmint, agents can transact on behalf of users using saved cards on file, stablecoins, or Crossmint credits. This guide explains how to implement each of those methods.
  • Agentic Tokens
  • Card Tokens
  • USDC
  • Crossmint Credits

Integration Steps

Agentic tokens can only be generated for cards issued by Mastercard and Visa.
1

Obtain Crossmint API key

Create a project in the Crossmint Console (staging environment), obtain a server-side API key from the Overview page, and make sure to save it for later use.
2

Set up authentication

Crossmint’s Agentic Payment SDK and APIs makes use of JWTs to authenticate users. You can use Crossmint’s authentication solution, integrate with a third-party provider (such as Stytch, Auth0, or Dynamic), or use a custom JWT with a JWKS endpoint.For detailed setup instructions, see:
3

Let the user choose a saved card or add a new card

Set up the Crossmint providers and handle authentication. Once authenticated, render the 
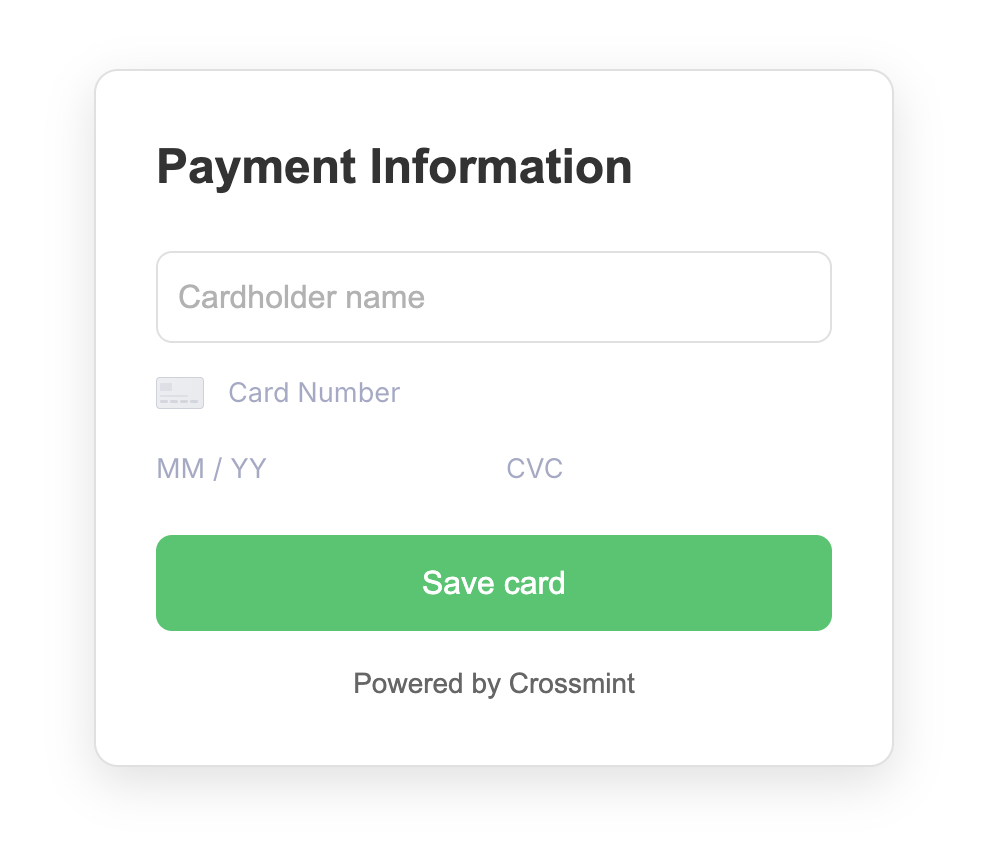
CrossmintPaymentMethodManagement component to allow users to select an existing saved card or add a new one. This component handles card tokenization for new cards and creates Crossmint payment methods automatically.
"use client";
import { CrossmintProvider, CrossmintPaymentMethodManagement, CrossmintAuthProvider, useCrossmintAuth, LoginButton } from "@crossmint/client-sdk-react-ui";

export default function AgenticTokenizedCard() {
  return (
    <CrossmintProvider apiKey="<crossmint-client-api-key>">
      <CrossmintAuthProvider>
        <CrossmintPaymentMethodManagementWrapper/>
      </CrossmintAuthProvider>
    </CrossmintProvider>
  );
}

function CrossmintPaymentMethodManagementWrapper() {
  const { jwt } = useCrossmintAuth();
  if (!jwt) {
    return <LoginButton />;
  }
  return (
    <CrossmintPaymentMethodManagement jwt={jwt} />
  );
}
If you’re using custom JWT authentication, pass your own JWT:
<CrossmintCardManagement jwt="<your-jwt-token>" />
Payment checkout example
Use this card to test the flow in staging:
  • Mastercard: 5186161910000103
  • For CVV or CVC, use any 3 digit number
  • For Expiry Date or MM/YY, enter any future date
4

Set up payment method callback

Set up the onPaymentMethodSelected callback on the CrossmintPaymentMethodManagement component to receive the CrossmintPaymentMethod when a user either selects an existing saved card or successfully adds a new one. This callback will be triggered in both scenarios.
function CrossmintPaymentMethodManagementWrapper() {
  const { jwt } = useCrossmintAuth();
  if (!jwt) {
    return <LoginButton />;
  }
  
  const handlePaymentMethodSelected = (paymentMethod: CrossmintPaymentMethod) => {
    console.log("Payment method selected:", paymentMethod.paymentMethodId);
  };

  return (
    <CrossmintPaymentMethodManagement 
      jwt={jwt} 
      onPaymentMethodSelected={handlePaymentMethodSelected}
    />
  );
}
5

Create order intent

Create an order intent within the onPaymentMethodSelected callback by calling Crossmint’s order-intents API using the paymentMethod.paymentMethodId:
// ... existing code from previous step ...

const handlePaymentMethodSelected = async (paymentMethod: CrossmintPaymentMethod) => {
  const response = await fetch('https://staging.crossmint.com/api/unstable/order-intents', {
    method: 'POST',
    headers: {
      'X-API-KEY': '<crossmint-client-api-key>',
      'Authorization': `Bearer ${jwt}`,
      'Content-Type': 'application/json'
    },
    body: JSON.stringify({
      payment: {
        paymentMethodId: paymentMethod.paymentMethodId
      },
      mandates: [
        {
          type: "maxAmount",
          value: "100.00",
          details: {
            currency: "840",
            period: "weekly"
          }
        }
      ]
    })
  });

  const orderIntent = await response.json();
};

// ... rest of existing code ...
Mandates: The mandates array allows you to set limits and controls on transactions. In the example above, we’re using a maxAmount mandate that limits transactions to $100.00 USD per week. This ensures that agents can only make purchases up to the specified amount within the weekly period. For more details on mandate types and configuration options, see the Mandates guide.
The order intent can be in one of the following phases:
  • requires-verification: The order intent requires verification with the credit card issuer
  • active: The order intent is ready to be used for order creation
6

Verify order intent

If the order intent phase is requires-verification, verify it with the credit card issuer to prompt the user to approve the purchase. Add the verification call to your handlePaymentMethodSelected callback from the previous step:
import { verifyOrderIntent } from "@crossmint/client-sdk-react-ui";

// ... existing code from previous step ...

const handlePaymentMethodSelected = async (paymentMethod: CrossmintPaymentMethod) => {
  // ... existing order intent creation code ...
  const orderIntent = await response.json();
  
  // Add verification when phase requires it
  if (orderIntent.phase === "requires-verification") {
    await verifyOrderIntent(orderIntent.orderIntentId);
  }
};

// ... rest of existing code ...
This step may require user interaction to approve the purchase with their card issuer.
7

Create order

Call Crossmint’s Create Order API to create the order with the products you want to purchase.
curl --request POST \
    --url 'https://staging.crossmint.com/api/2022-06-09/orders' \
    --header 'x-api-key: <x-api-key>' \
    --header 'Content-Type: application/json' \
    --data '{
      "recipient": {
        "email": "john.d@example.com",
        "physicalAddress": {
          "name": "John D",
          "line1": "123 ABC Street",
          "city": "New York City",
          "state": "NY",
          "postalCode": "10007",
          "country": "US"
        }
      },
      "locale": "en-US",
      "payment": {
        "receiptEmail": "john.d@example.com",
        "method": "basis-theory"
      },
      "lineItems": [
        {
          "productLocator": "url:https://www.nike.com/t/maverick-valor-course-tint-sunglasses-1TrBw8KB/IF0969X-021"
        }
      ]
    }'
{
  "clientSecret": "...",
  "order": {
    "orderId": "b2959ca5-65e4-466a-bd26-1bd05cb4f837",
    "phase": "payment",
  }
  ...
}
General Websites
  • Use url: prefix for any website with guest checkout on the internet
  • Product variants are specified in natural language, as shown below:
url:https://www.nike.com/t/downshifter-13-mens-road-running-shoes-extra-wide-4M0LNf:9
url:https://www.nike.com/t/downshifter-13-mens-road-running-shoes-extra-wide-4M0LNf:size-9
url:https://www.nike.com/t/downshifter-13-mens-road-running-shoes-extra-wide-4M0LNf:size should be 9
url:https://www.nike.com/t/downshifter-13-mens-road-running-shoes-extra-wide-4M0LNf:{"size":9}
Shopify
  • Use shopify: prefix for Crossmint to place the order as Merchant of Record
  • Specify product variants by ID, fetching them using the route in Step 3 here
url:https://www.nike.com/t/downshifter-13-mens-road-running-shoes-extra-wide-4M0LNf:<
Amazon
  • Use amazon: prefix for Crossmint to place the order as Merchant of Record
  • No variants are needed as Amazon URLs are unique
amazon:https://www.amazon.com/Sparkling-Naturally-Essenced-Calories-Sweeteners/dp/B00O79SKV6
8

Complete payment

Use the orderId from the previous step’s response and the orderIntentId from Step 4 to complete the payment.
curl --request POST \
    --url 'https://staging.crossmint.com/api/2022-06-09/orders/<orderId>/payment' \
    --header 'x-api-key: <x-api-key>' \
    --header 'Authorization: Bearer <jwt>' \
    --header 'Content-Type: application/json' \
    --data '{
      "type": "crossmint-order-intent",
      "orderIntentId": "<order_intent_id_from_step_4>"
    }'
Check the recipient’s email inbox specified in Step 5 for a purchase receipt.