The Kotlin SDK is currently in Beta.
- Install the Kotlin SDK
- Create an Onramp order for your authenticated users
- Use the embedded checkout component to handle KYC, payment, and delivery
Before you start
Set up your project and get an API key.
Kotlin SDK on GitHub
View the Kotlin checkout example repository.
You can start testing Onramp in staging. Once you are ready to go live, reach out to
sales to enable the feature in production
Requirements
- Android SDK 24+
- Jetpack Compose
- Android Studio Arctic Fox or later
1. Installation
Install the Crossmint Kotlin SDK using Maven Central.Create API key
Create a server-side API key with the
orders.create and orders.read scopes enabled. In staging, all scopes are included in your API key.2. Create Order
If you want to enable onramp orders to external wallets (EOAs or third-party smart wallets) instead of Crossmint wallets, see the Onramp to External Wallets guide before proceeding.
| Chain | Staging Token Address |
|---|---|
| Solana Devnet | 4zMMC9srt5Ri5X14GAgXhaHii3GnPAEERYPJgZJDncDU |
| Base Sepolia | 0x036CbD53842c5426634e7929541eC2318f3dCF7e |
| Stellar Testnet | CBIELTK6YBZJU5UP2WWQEUCYKLPU6AUNZ2BQ4WWFEIE3USCIHMXQDAMA |
🚨 IMPORTANT: The
payment.receiptEmail parameter is required for compliance reasons. This email is used by Crossmint to determine whether KYC is required for the order. The API accepts either recipient.email OR recipient.walletAddress, not both.Example Response
Example Response
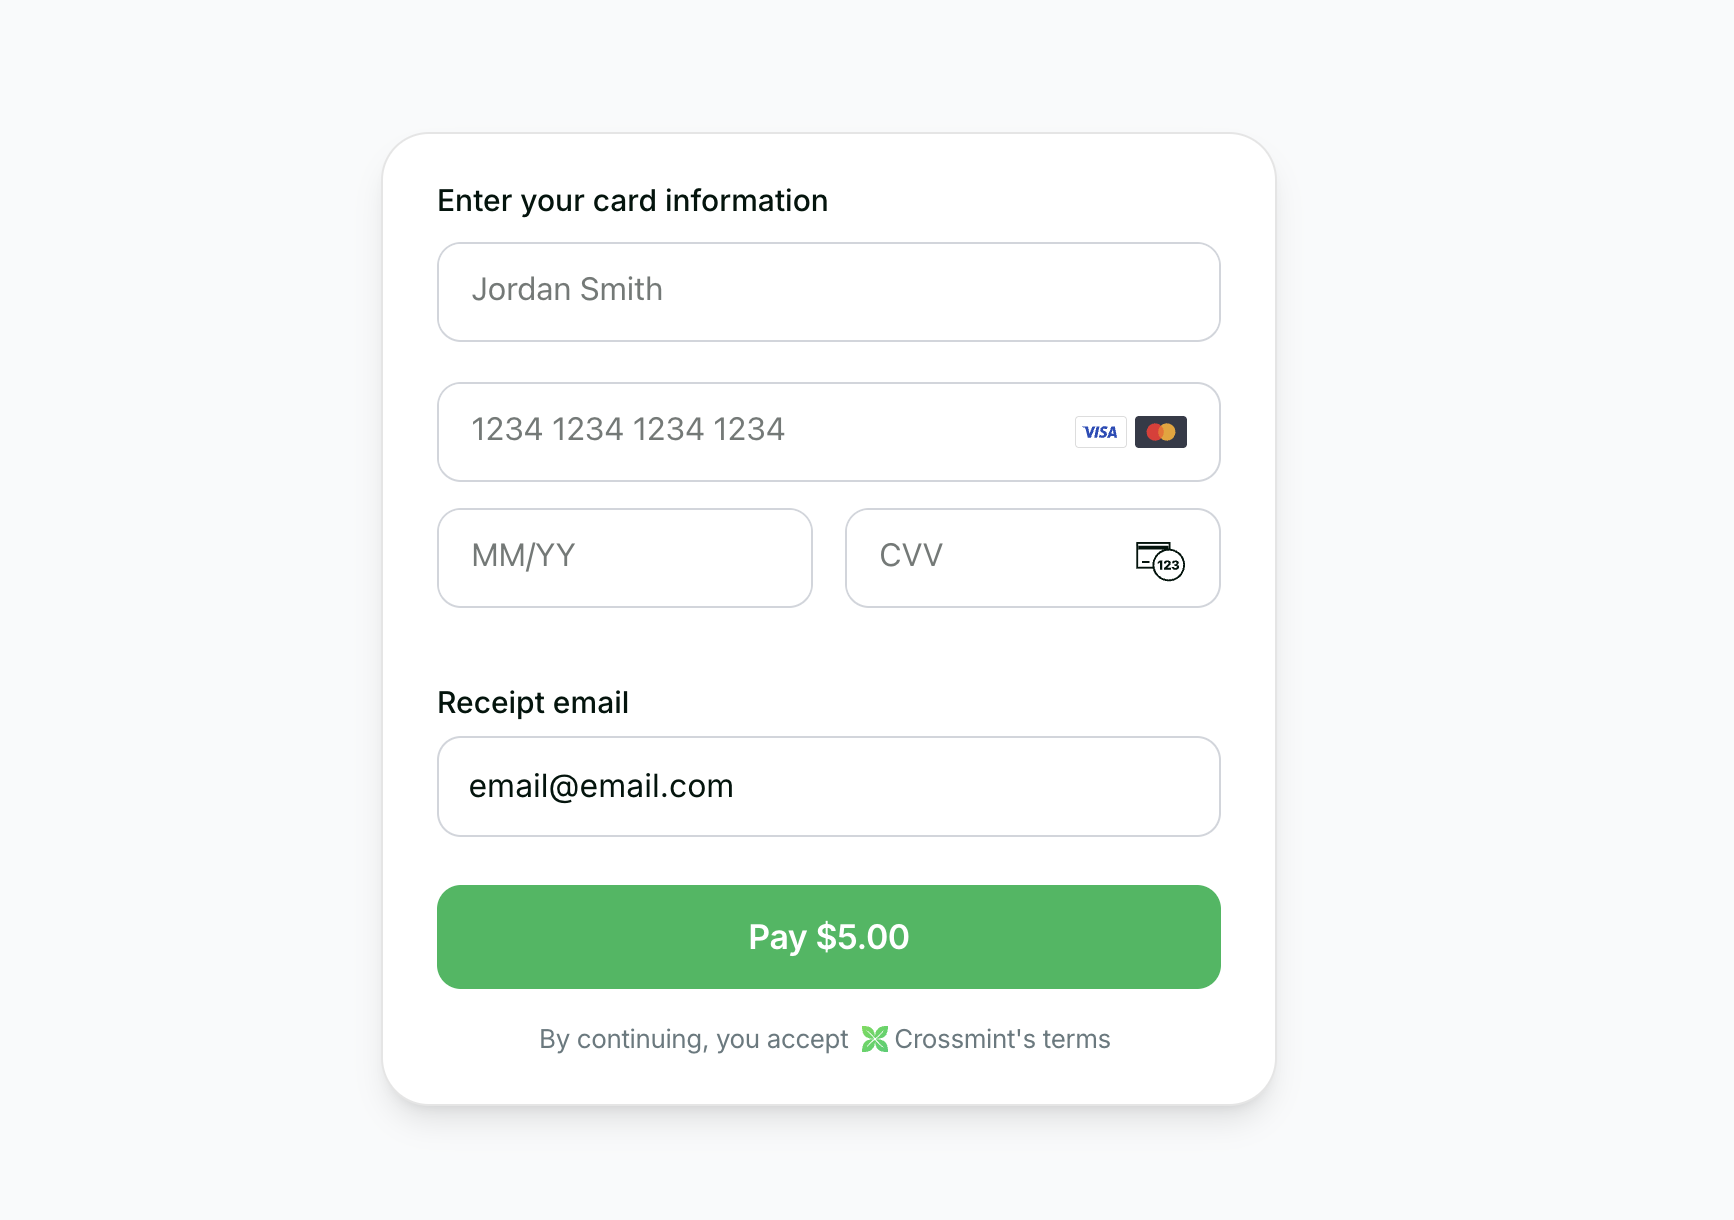
3. Use Component
Once you have the order response withorderId and clientSecret, use Crossmint’s embedded checkout component in your Jetpack Compose view.
The component supports native Google Pay for a seamless Android payment experience.
Key Features
- Native Google Pay: Seamless integration with Android payment system
- Jetpack Compose Components: Modern declarative UI framework
- Automatic KYC: Handles verification flow automatically
- Customizable Appearance: Control visibility of UI elements
4. Track Order
After the user completes payment, you can track the order status using webhooks or polling.Webhooks (Recommended)
Webhooks (Recommended)
Configure a webhook endpoint to receive real-time order status updates:For detailed setup instructions, see the Webhooks documentation.
- Go to the Crossmint Console
- Add your webhook endpoint URL
- Subscribe to
order.payment.succeededandorder.delivery.succeededevents
Polling
Polling
Poll the order status endpoint from your backend:Check the
order.payment.status and order.lineItems[].delivery.status fields to track progress.5. Transaction Completion
Upon successful payment:KYC Verification
The embedded checkout component handles all the complexity of KYC verification automatically.
Receipt Sent
User receives an email receipt from hello@crossmint.io.
6. Next Steps
- Explore our Payment Methods Guide to learn about different payment options
- Check out our Production Launch Guide for going live
- View the Kotlin checkout example repo on GitHub