The hosted variant of checkout is only available for React applications. If you’re using a different framework like
Vite or React Native, you can use the Headless version instead.
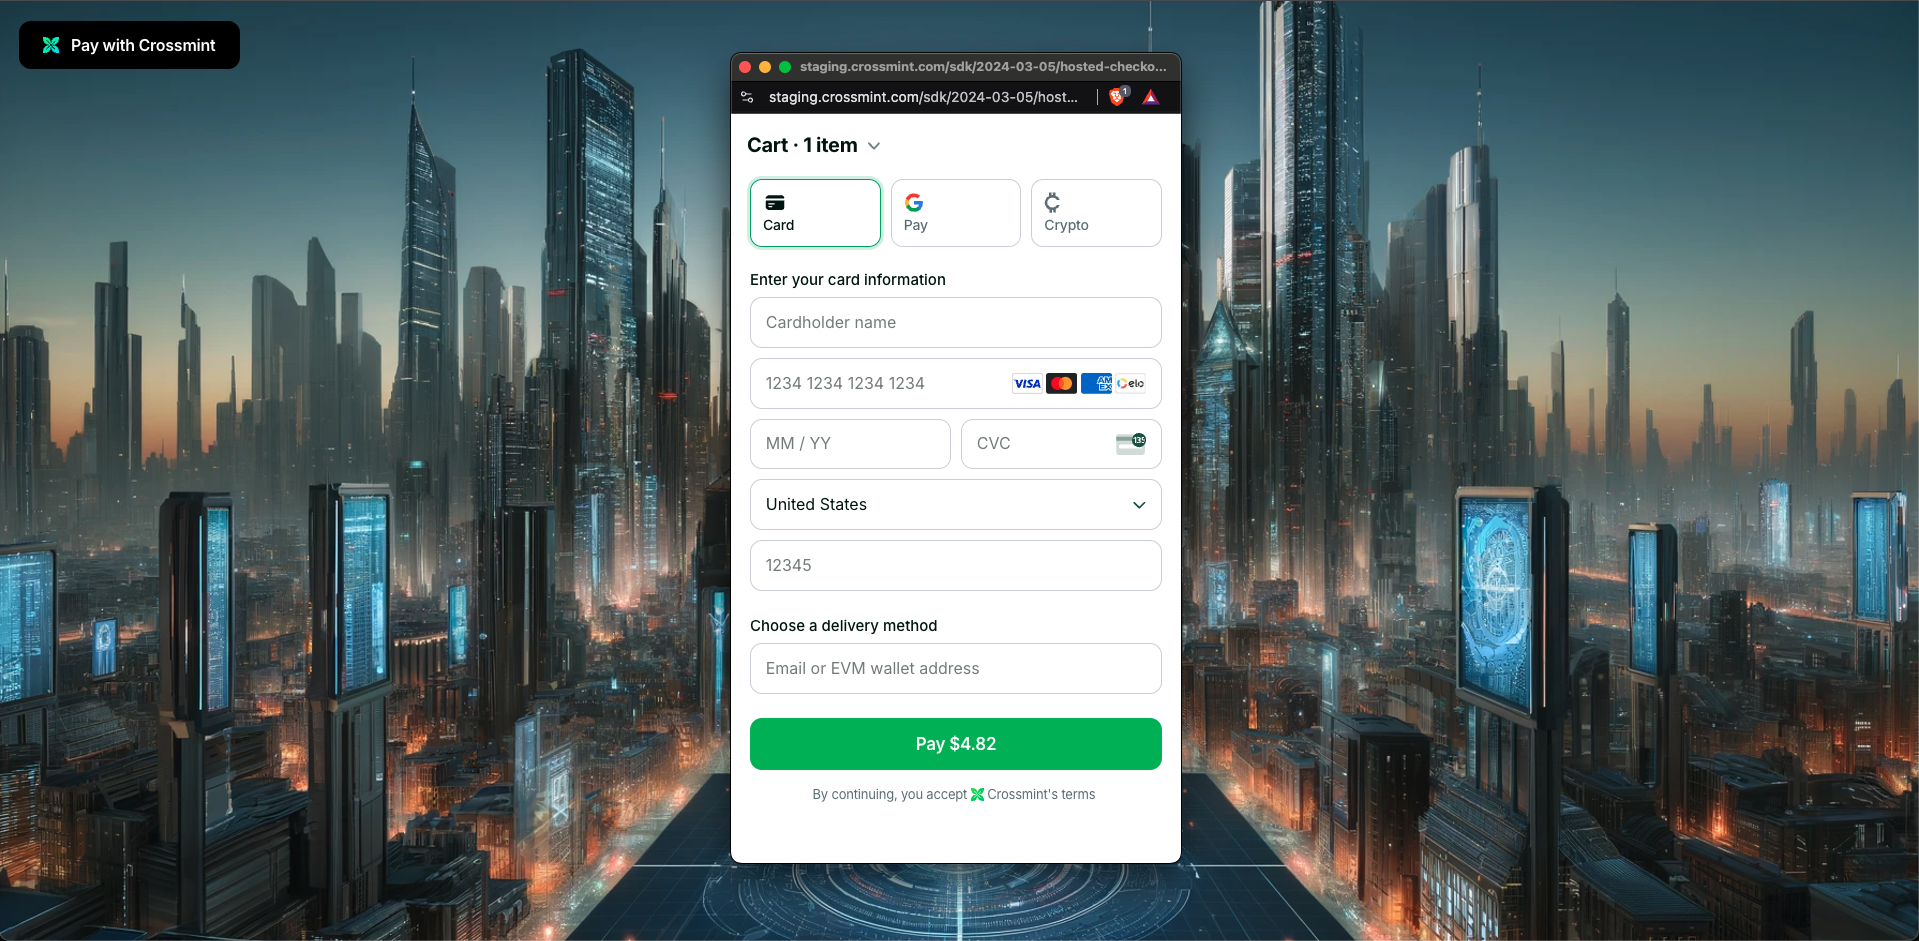
When is Hosted Checkout the best fit?
- You want to launch quickly and don’t need deep customization or a fully native user experience.
Get Started
Quickstart
Start selling digital assets in 5 minutes.
Talk to an expert
Contact our sales team for advanced support.