You will build this demo
Before you start
Set up your project and get an API key.
Onramp Embedded Quickstart
See the Flutter SDK checkout playground.
You can test the Onramp self-serve in staging. To enable in production, contact sales.
- Create a Crossmint order via an API endpoint
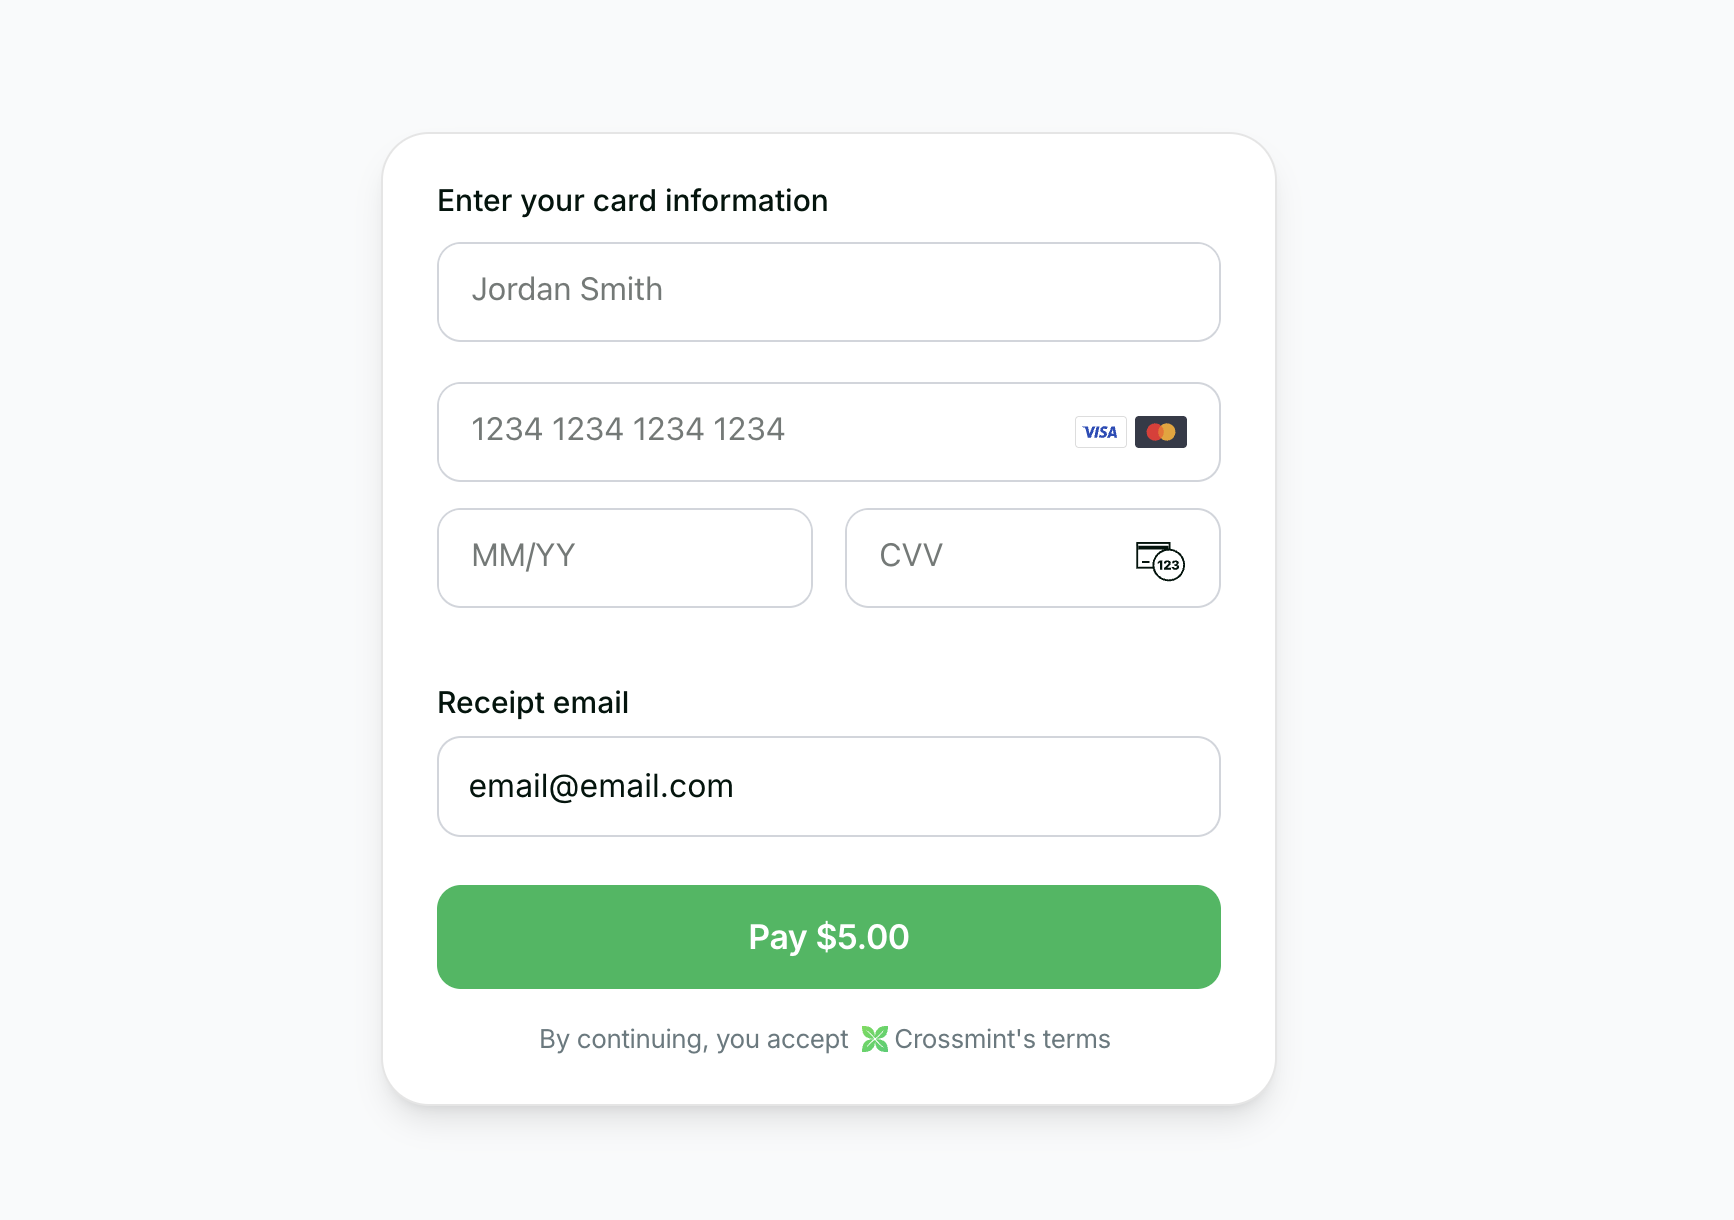
- Use Crossmint’s embedded checkout widget to handle KYC, payment, and delivery automatically
Requirements
- Flutter 3.x+
- Dart SDK ^3.11.4
- iOS 13.0+ / Android 5.0+
1. Prerequisites
1
Install the SDK
http package for making API requests to your backend:2
Create API keys
Create a server-side API key with the
Create a client-side API key for the embedded checkout component.
orders.create and orders.read scopes enabled.Create a client-side API key for the embedded checkout component.
3
Add environment variables
Pass your API key and backend URL via Dart defines when running the app:
localhost on a mobile device or emulator does not resolve to your development machine.
Use 10.0.2.2 for Android emulators, 127.0.0.1 for iOS simulators, or your machine’s
LAN IP / an ngrok tunnel for physical devices.2. Create the API Endpoint
If you want to enable onramp orders to external wallets (EOAs or third-party smart wallets) instead of Crossmint wallets, see the Onramp to External Wallets guide before proceeding.
server/createOrder.ts
3. Build an Onramp Checkout UI in Your App
Create a Flutter screen that handles order creation and displays a checkout:lib/screens/onramp_screen.dart
4. Add the Screen to Your App
Import and render theOnrampScreen in your app:
lib/main.dart
5. Transaction Completion
Upon successful payment:1
KYC Verification
The embedded checkout component handles all the complexity of KYC verification automatically.
2
Token Delivery
The purchased tokens (minus fees) are sent directly to the user's wallet.
3
Receipt Sent
User receives an email receipt from hello@crossmint.io.
6. Next Steps
- Explore our Payment Methods Guide to learn about different payment options
- Check out our Production Launch Guide for going live