

- Install the React SDK
- Create an Onramp order for your authenticated users
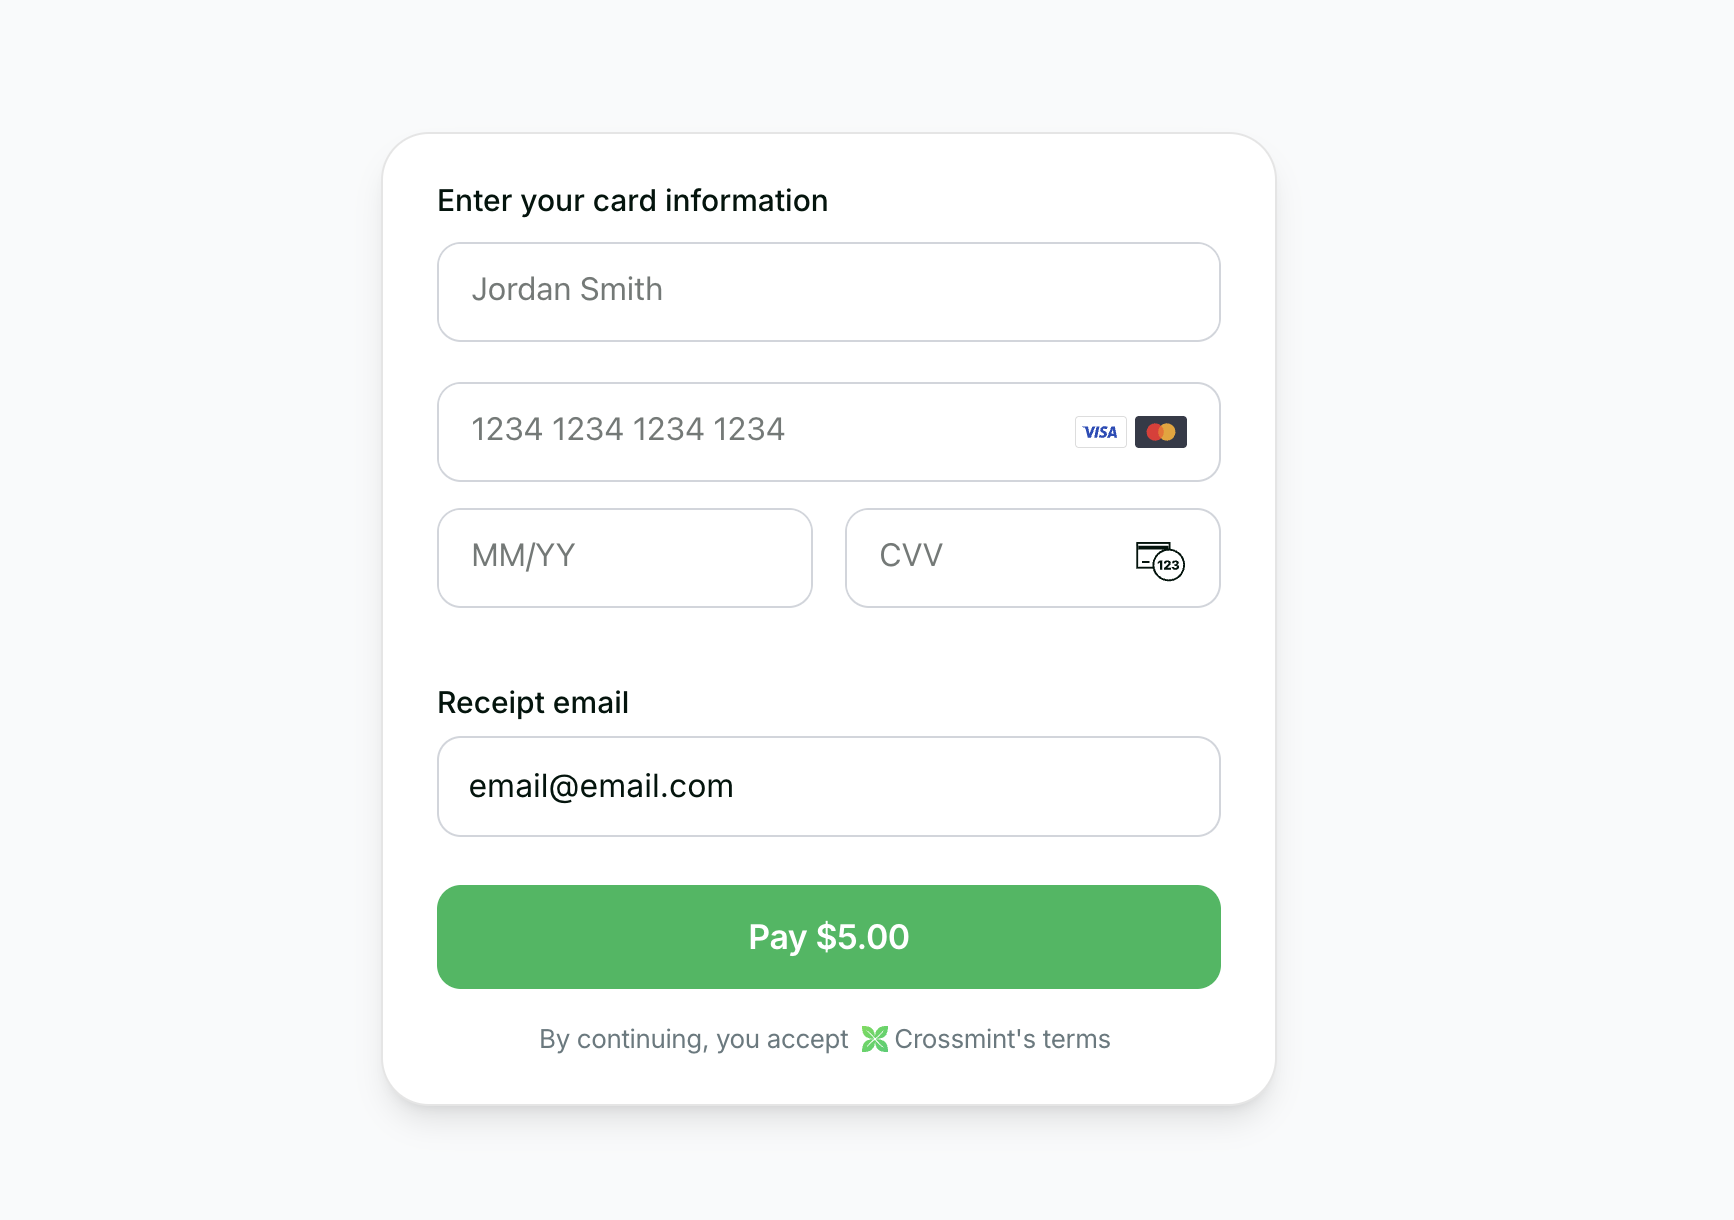
- Use the embedded checkout component to handle KYC, payment, and delivery
Whitelabel Onramp in React
Before you start
Set up your project and get an API key.
Onramp Embedded Quickstart
See a full working example.
You can test the Onramp self-serve in staging. To enable it in production, contact sales.
Prerequisites
Install the Crossmint client SDK:-
Create a server-side API key with the
orders.createandorders.readscopes enabled, and a client-side API key for the embedded checkout component. -
Add environment variables to your
.env.local:.env.local
Onramp to Crossmint Wallets
Use this flow to onramp funds into wallets created with Crossmint.Create the server action
Create a server action that will create orders via the Crossmint API:The
app/actions/createOrder.ts
USDC_TOKEN_LOCATORS map has the staging locators for Solana, Base and Stellar. For other chains and the production locators, see Which tokens can your users buy?.Build the onramp component
Create a client component that handles the order creation and displays the embedded checkout:
app/components/OnrampCheckout.tsx
Add the component to your page
Import and render the That is it! When users fill in their details and click “Continue to Checkout”, the server action creates an order and the embedded checkout component handles KYC, payment, and delivery automatically.
OnrampCheckout component in your page:app/page.tsx
Onramp to External Wallets
Use this flow to onramp to external wallets — externally owned accounts (EOAs) or smart wallets not created by Crossmint. External wallet onramp requires two additional steps compared to Crossmint wallets: linking the wallet to a Crossmint user, and handling ownership verification when transaction thresholds are exceeded.Link the external wallet
Before creating an onramp order to an external wallet, you must link the wallet to a Crossmint user using the Link External Wallet API.Create a server action to handle the wallet linking:The
app/actions/linkWallet.ts
proof field is optional:- If you omit it, the wallet is linked without proving ownership yet. The API responds with a
verificationChallengethat you can use later to verify ownership. - If you pass it, you prove ownership of the wallet in the same request.
Create the server action
Create a server action that will create orders via the Crossmint API:Ownership verificationDepending on the transaction value and the user’s past activity, the order may or may not require wallet ownership verification:
app/actions/createOrder.ts
- Below threshold: If the transaction value is below $1,000 and the user’s past 30-day onramp transaction volume is below $1,000, ownership verification is not required. The order proceeds directly to the KYC/payment phase.
- Above threshold: If either threshold is surpassed, the order status will be
requires-recipient-verificationand the user must sign a message to prove wallet ownership.
preparation.message field that the user must sign:Handle wallet verification
If the order requires ownership verification, have the user sign the Once signed, submit the signature using the same Link External Wallet API by calling the
preparation.message with the recipient wallet. See Onramp to Non-Crossmint Wallets for how all wallets, including EOAs and smart contract wallets, use the same verification flow.linkWallet server action with the proof parameter set to the signature. Once ownership is verified, the order proceeds to the next phase (requires-kyc or awaiting-payment).Build the onramp component
Create a client component that handles wallet linking, order creation, and displays the embedded checkout:
app/components/OnrampCheckout.tsx
Add the component to your page
Import and render the That is it! When users fill in their details and click “Continue to Checkout”, the app links the external wallet, creates an order, and the embedded checkout component handles KYC, payment, and delivery automatically.
OnrampCheckout component in your page:app/page.tsx
Transaction Completion
Upon successful payment:1
KYC Verification
The embedded checkout component handles all the complexity of KYC verification automatically.
2
Token Delivery
The purchased tokens (minus fees) are sent directly to the user's wallet.
3
Receipt Sent
User receives an email receipt from hello@crossmint.io.
Next Steps
- Explore the Payment Methods Guide to learn about different payment options
- See the Production Launch Guide for going live