

Enterprise feature. Contact us for access.
Crossmint Checkout React Native SDK Quickstart
This example sells a token. For NFTs, pass
collectionLocator: "crossmint:<collectionId>" and callData: { totalPrice, quantity } in lineItems instead — see the React quickstart for the NFT variant.This quickstart uses Expo. You can follow this tutorial to create an expo app. Only do steps 1 and 3, plus the Crossmint-specific steps below.Prerequisites: Before starting, ensure you have completed the Expo prerequisites including Node.js, Git, and your development environment setup.
To integrate without the SDK, or on a platform the SDKs do not cover, render the checkout URL in your own WebView
following the Mobile WebView Integration guide.
Following Expo Tutorial + Crossmint SDK
1
Initialize a new Expo app
2
Run reset-project script
3
Install @crossmint/client-sdk-react-native-ui
npx expo install picks the versions of these packages that match your Expo SDK.4
Add your .env.local environment variables
The
receiptEmail field is optional. If the buyer pays with Apple Pay or Google Pay, Crossmint obtains the
email automatically. Providing it improves fraud signal quality.5
Replace index.tsx with
6
Run your project
Result
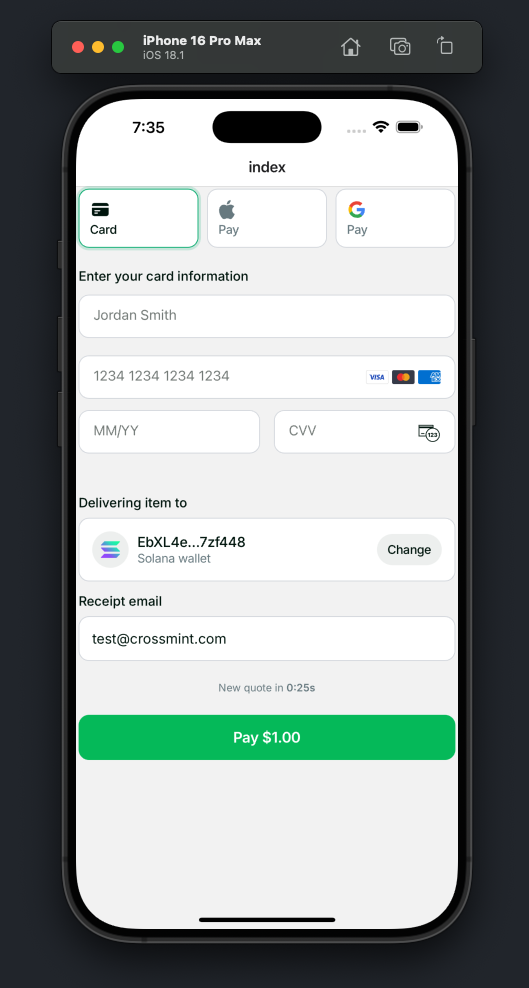
Testing Your App
Test purchases in staging using test credit cards, like4242424242424242 (Visa). More information on testing can be found here. This demo is built on staging — to launch on production, check the production checklist.
Next Steps
Mobile WebView Integration
Render the checkout in your own WebView without the SDK
React Native SDK Reference
Full API reference for the React Native SDK