
This guide explains how to issue a virtual card with the Reap Card Issuing API and fund it from a Crossmint wallet. Reap issues cards under a Program-Funded model: your program holds collateral in a Reap master account, and each user’s spending power is tracked as a Reap balance that your backend credits after the user moves stablecoins out of their Crossmint wallet. You will build a Next.js app where a user signs in with Crossmint, gets a wallet on Base Sepolia, passes Reap KYC, receives a virtual card, funds it by sending stablecoins to your program treasury, and views the card details through Reap’s secure reveal. The same funding path works for wallets controlled by AI agents, which lets an agent top up a card from its stablecoin balance.

Prerequisites

To use Reap with Crossmint wallets, you need:
  • Crossmint wallet: a wallet on Base Sepolia
  • Crossmint API key: a staging Client API Key with the scopes users.create, users.read, wallets.create, wallets.read, wallets:transactions.create, wallets:transactions.sign, wallets:balance.read, and wallets.fund (create in the Crossmint Console). In staging, all scopes are included by default.
  • Reap API key: a sandbox API key for a Program-Funded project, issued by Reap (see the Reap API overview)
  • Next.js project: an App Router project with the Crossmint React SDK installed
This guide uses Base Sepolia and the Reap sandbox as examples. To follow along, you will also need:
  • Test tokens: USDXM in the wallet from wallet.stagingFund() (see Fund a Staging Wallet)
  • Program treasury: an EVM address your program controls on Base Sepolia that receives user deposits
  • Gas: ETH on Base Sepolia for gas fees (not required if gas sponsorship is enabled)
In production, Reap collateralizes the master account with stablecoins or bank transfers, users complete Reap’s hosted KYC, and your backend credits balances from real deposits. Contact Crossmint Sales to get connected with the Reap team.

What You Will Build

High-level steps:
  1. Set up Crossmint authentication and wallet providers.
  2. Build a server-side Reap client.
  3. Create the Reap user, complete KYC, and issue a virtual card.
  4. Fund the card from the Crossmint wallet.
  5. Simulate a purchase and reveal the card.
Reap’s sandbox exposes /simulation/* endpoints for KYC approval, collateral deposits, and card authorizations. These endpoints do not exist in production and are marked as sandbox only below.

Set Up Crossmint

1

Configure the providers

Wrap your app with the Crossmint providers so users can sign in and receive a wallet on Base Sepolia. This example uses Crossmint Auth; for production you can also bring your own auth.
app/providers.tsx
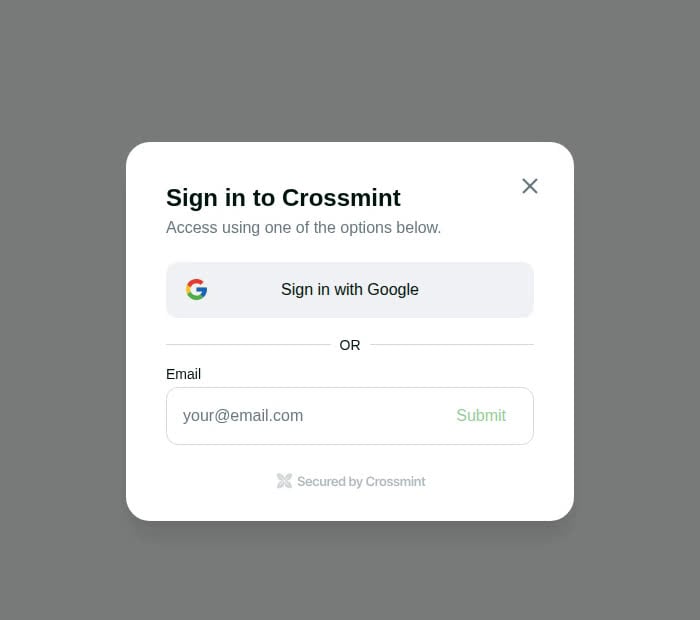
Crossmint sign-in modal with Google and email options
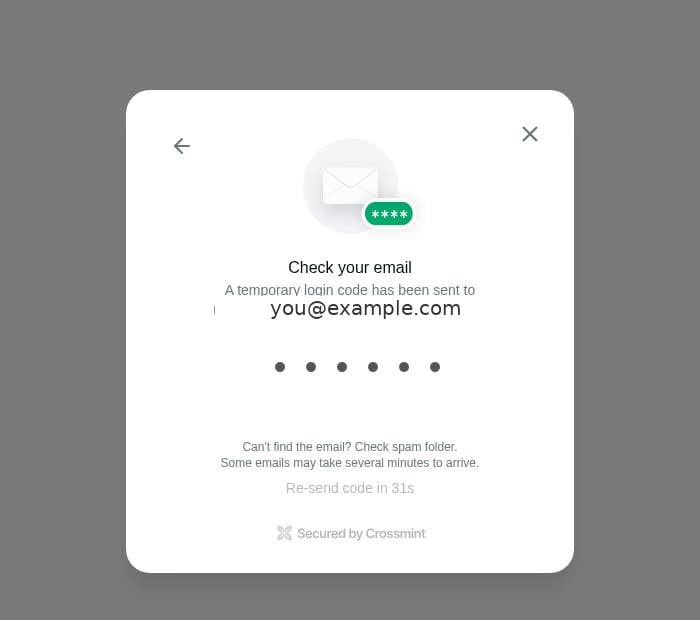
Crossmint one-time code screen after submitting an email
After login, the wallet card shows the base-sepolia address and the USDXM balance:
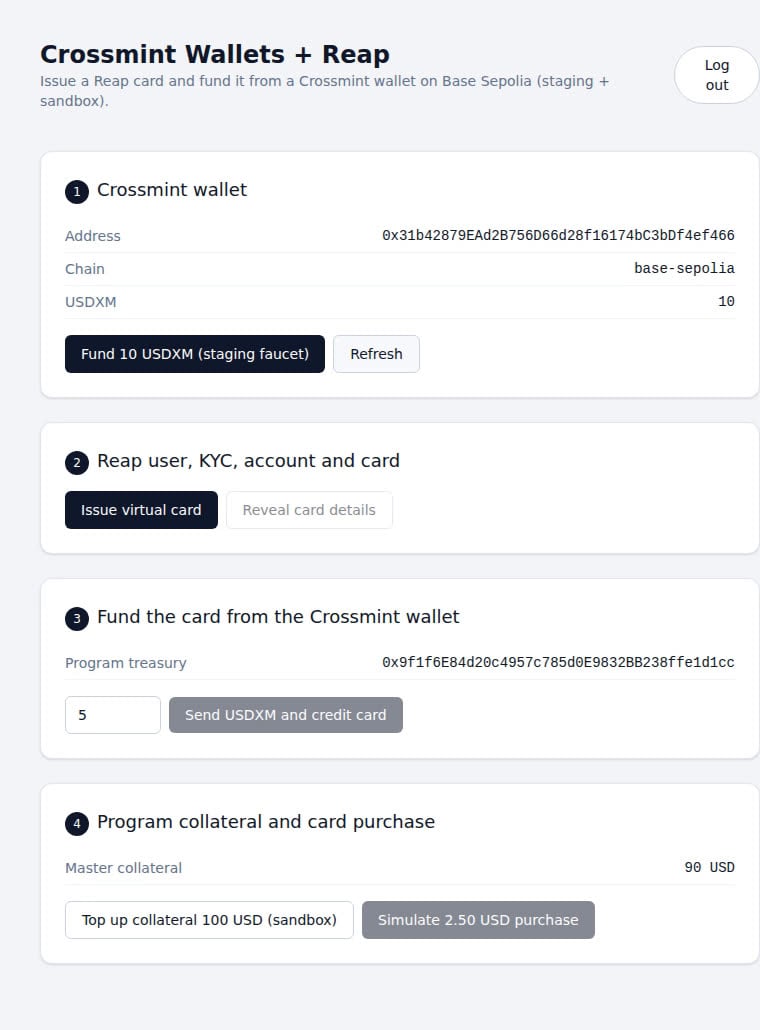
Demo app showing the Crossmint wallet address, base-sepolia chain, and a 10 USDXM balance after the staging faucet

Wallet created on login and funded with 10 USDXM from the staging faucet

2

Add environment variables

The Reap API key is only read in server actions, so it has no NEXT_PUBLIC_ prefix.
.env.local
TREASURY_TOKEN_ADDRESSES lists the stablecoin contracts your treasury accepts; the value above is USDXM on base-sepolia.

Build the Reap Integration Layer

Reap authenticates with a bearer token and pins the API version through the Reap-Version header. Create-style requests also require an Idempotency-Key. Keep every Reap call in Next.js server actions so the API key never reaches the browser.
1

Create a Reap client

actions/reap.ts
2

Add user, account, and card operations

Store the Crossmint wallet address as Reap’s externalId so a returning user maps to the same Reap user. List endpoints return results under items.
actions/reap.ts
3

Add balance, funding, and reveal operations

A Program-Funded project mirrors each user’s spending power as a Reap Virtual Asset balance. Create one fixed 1:1 USD asset for the project and post a DEPOSIT against the user’s account after their on-chain transfer settles.
actions/reap.ts
These actions are callable from the browser and run with your program’s Reap API key. Before production, every action must verify the signed-in Crossmint user (for example by validating the Crossmint JWT on the server) and only act on the Reap user, account, and card that belong to that user. Never accept an accountId, cardId, or amount from the client without that ownership check. The PoC omits this to keep the flow short.
4

Verify the deposit on-chain

Before crediting Reap, confirm that the user’s transaction to the program treasury succeeded and read the transferred amount from the ERC-20 Transfer event. Only accept transfers emitted by the stablecoin contracts you trust (USDXM in staging, USDC in production) and sent from the signed-in user’s wallet; otherwise any token transfer to the treasury would count as USD funding.
actions/treasury.ts

Issue and Fund the Card

1

Create the user, approve KYC, and issue a card

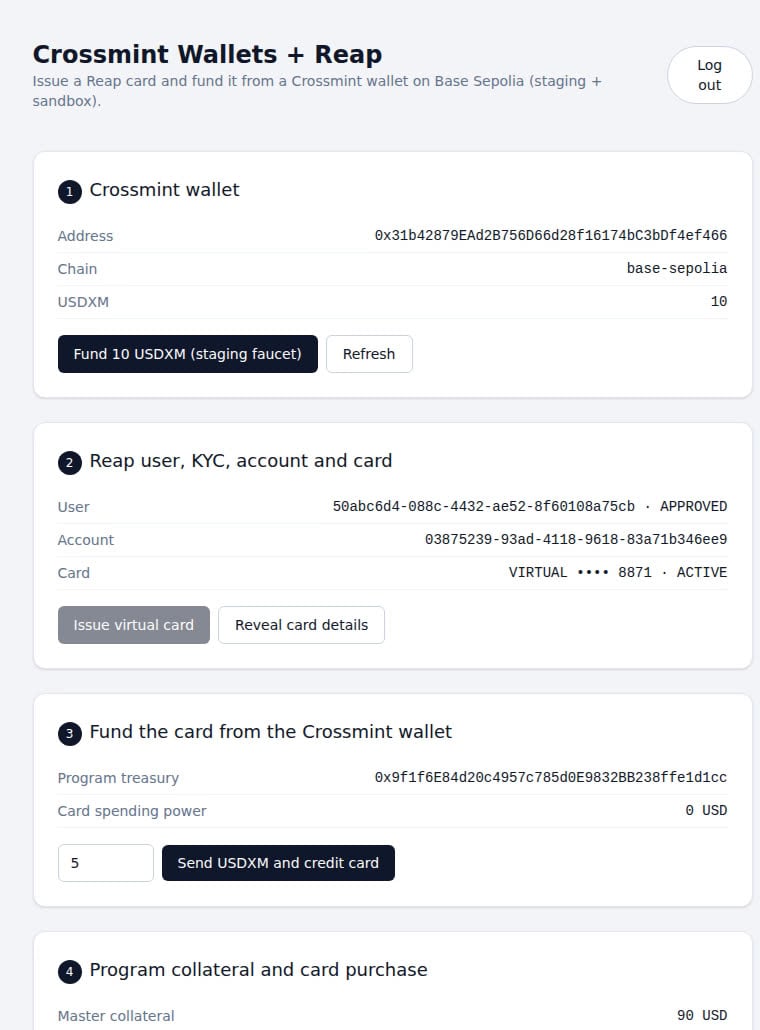
Reap’s sandbox KYC simulation is asynchronous: the request returns 204 immediately and the application flips to APPROVED a few seconds later, so poll the user until it does.
components/reap-card.tsx
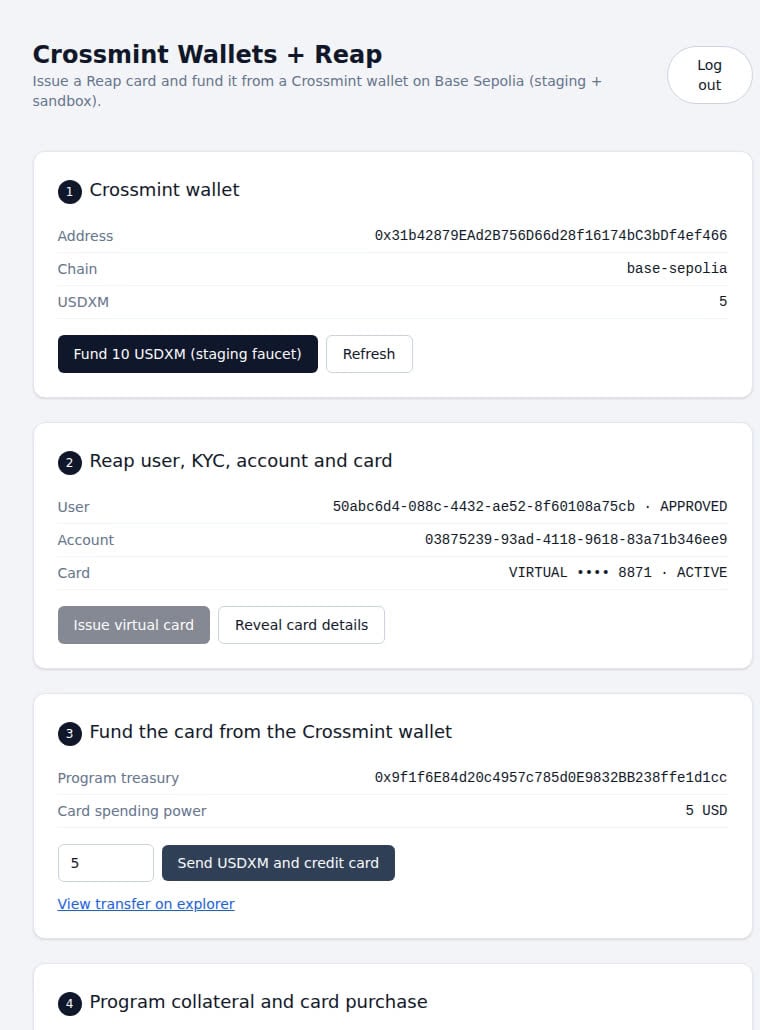
Demo app showing a Reap user with APPROVED status, an ACTIVE account, and an ACTIVE virtual card ending in 8871

User approved, account active, and virtual card issued
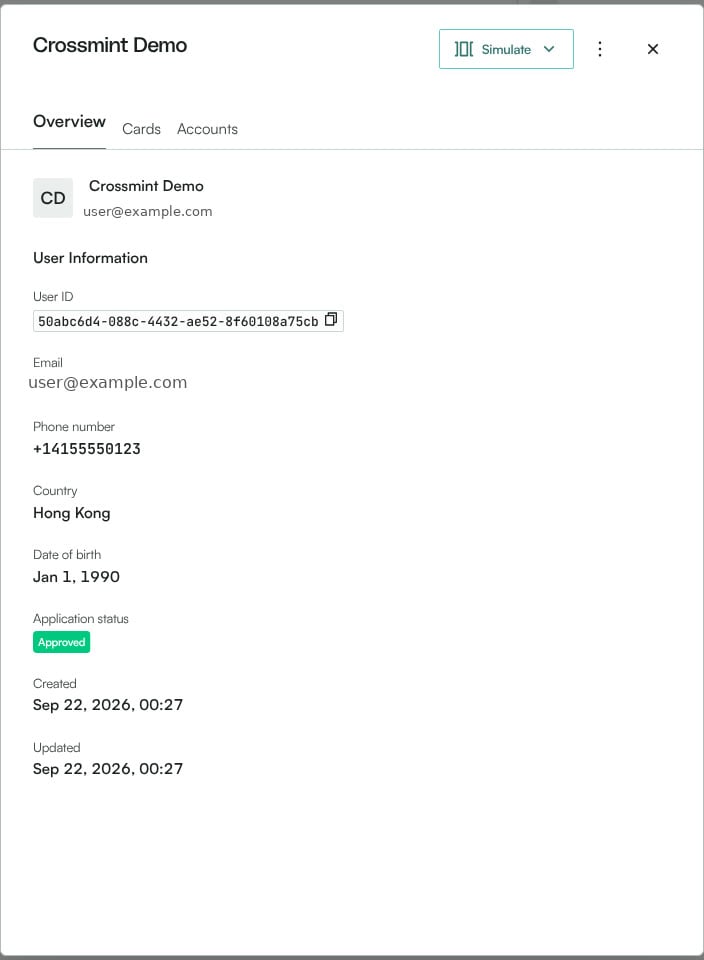
The same objects appear in the Reap platform under Users and Cards (sandbox):
Reap platform user drawer showing the user ID, country, and an Approved application status
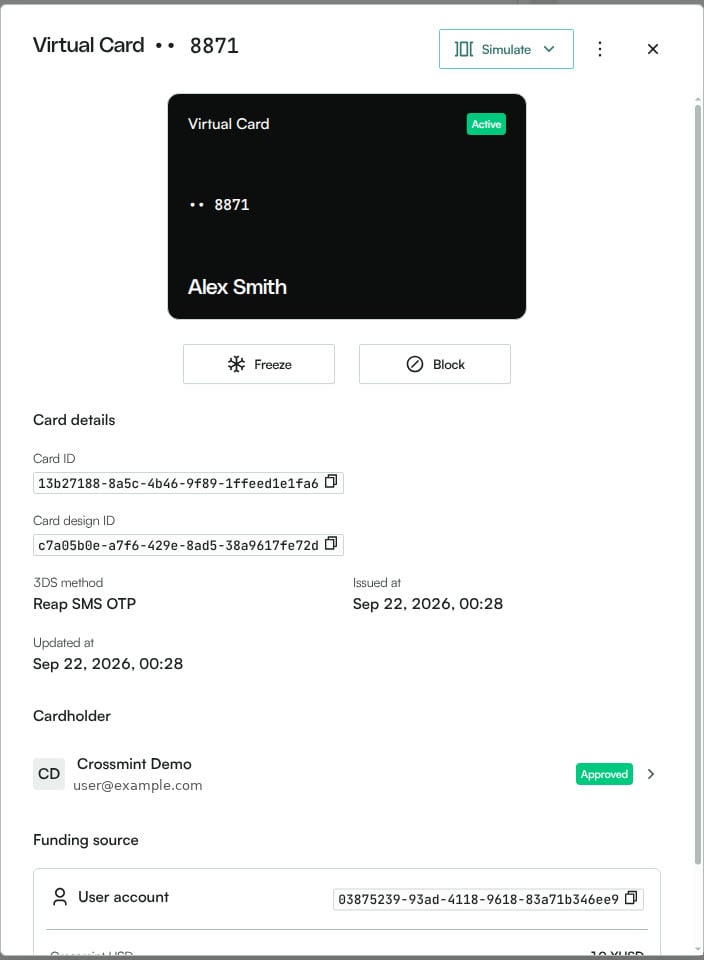
Reap platform card drawer showing an Active virtual card, card ID, cardholder, and the user account as funding source
2

Fund the card from the wallet

Send stablecoins from the Crossmint wallet to your program treasury, confirm the receipt on-chain, then mirror the amount into Reap. In staging, wallet.stagingFund() mints USDXM, so read and send "usdxm"; in production use "usdc".
components/reap-card.tsx
Demo app showing the wallet balance reduced to 5 USDXM and Reap card spending power of 5 USD with an explorer link for the transfer

5 USDXM sent to the treasury and mirrored as 5 USD of Reap spending power
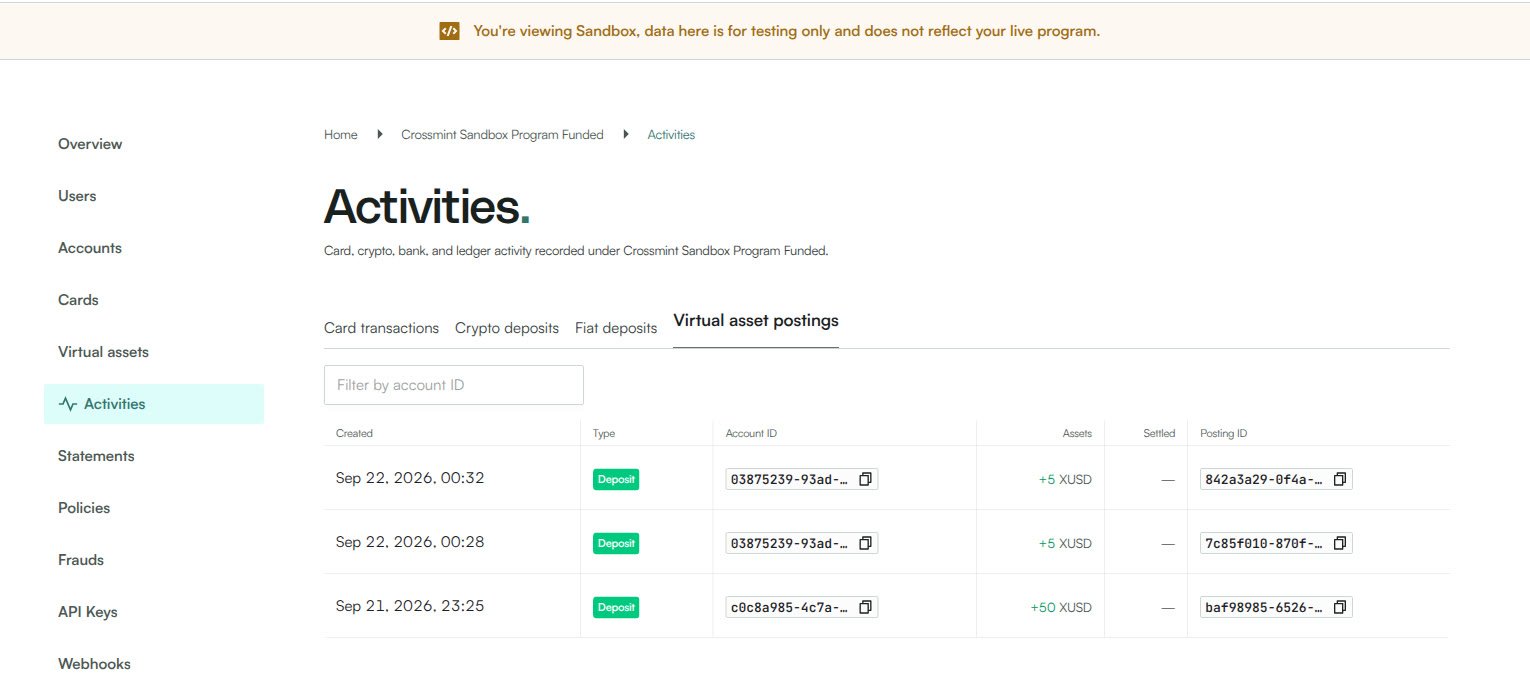
In the Reap platform, each mirrored deposit appears under Activities → Virtual asset postings, and the user account balance reflects the credited units:
Reap platform Activities page listing Deposit postings of +5 XUSD to the user account

Virtual asset postings credited to the user account after each wallet transfer

See Transfer Tokens and the React SDK reference for send and balances parameters.
3

Simulate a purchase and reveal the card

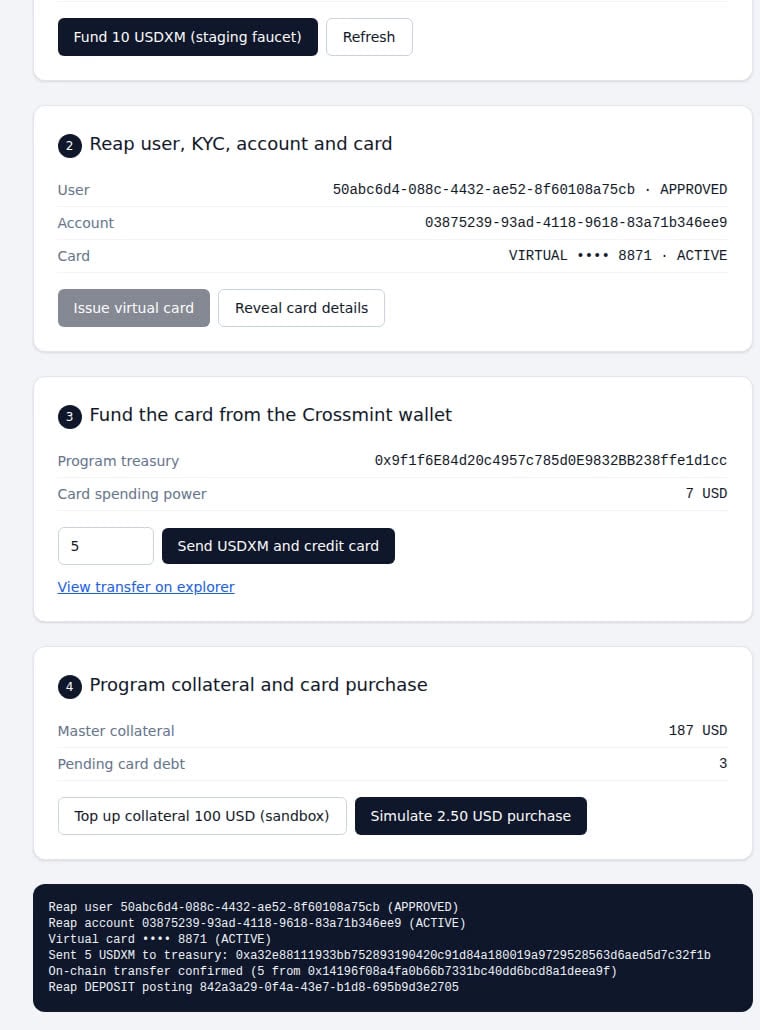
Card authorizations draw on the program’s master collateral, so top it up in the sandbox before the first purchase. Approved authorizations return amount as a running total ({ authorized, reversed, current }), while declines omit amount and return a scalar originalAmount with a declineReason.
actions/reap.ts
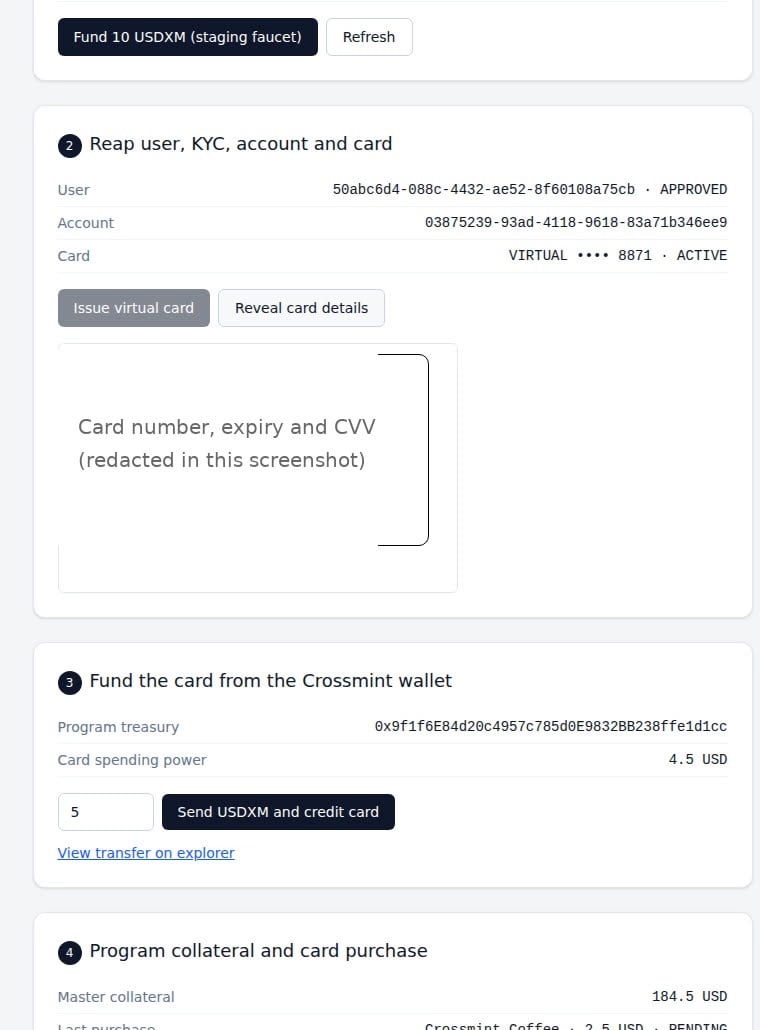
Reap’s reveal endpoint returns a single-use URL that expires after about 5 minutes. Load it directly in an <iframe> so the PAN and CVV are rendered by Reap and never pass through your servers.
components/reap-card.tsx
Demo app showing master collateral, a PENDING 2.50 USD purchase, and the event log
Demo app showing the Reap secure reveal iframe with card details redacted
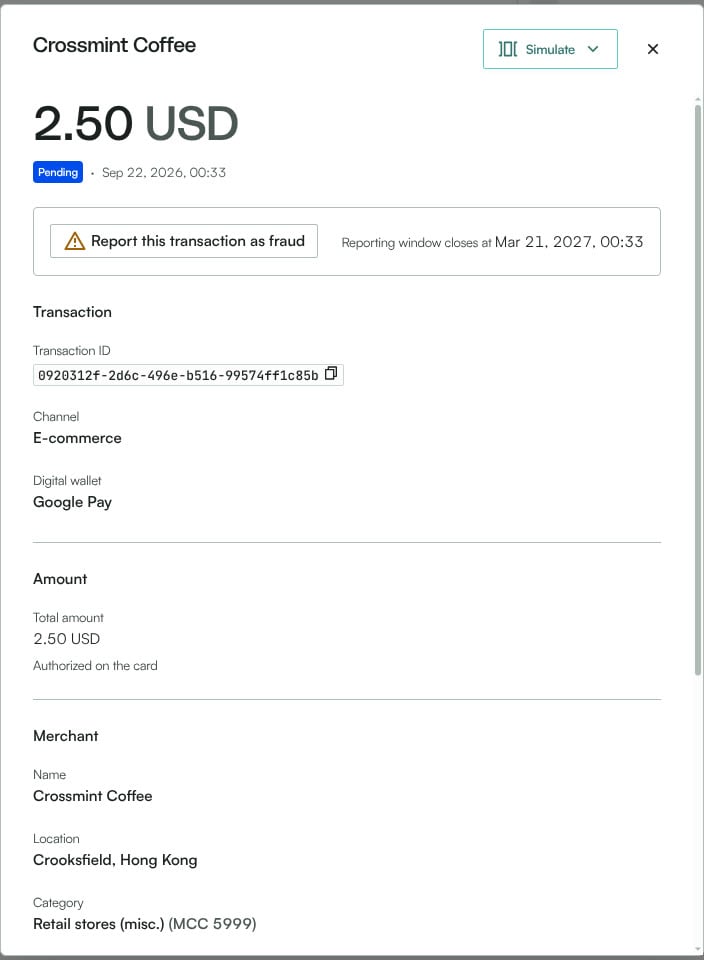
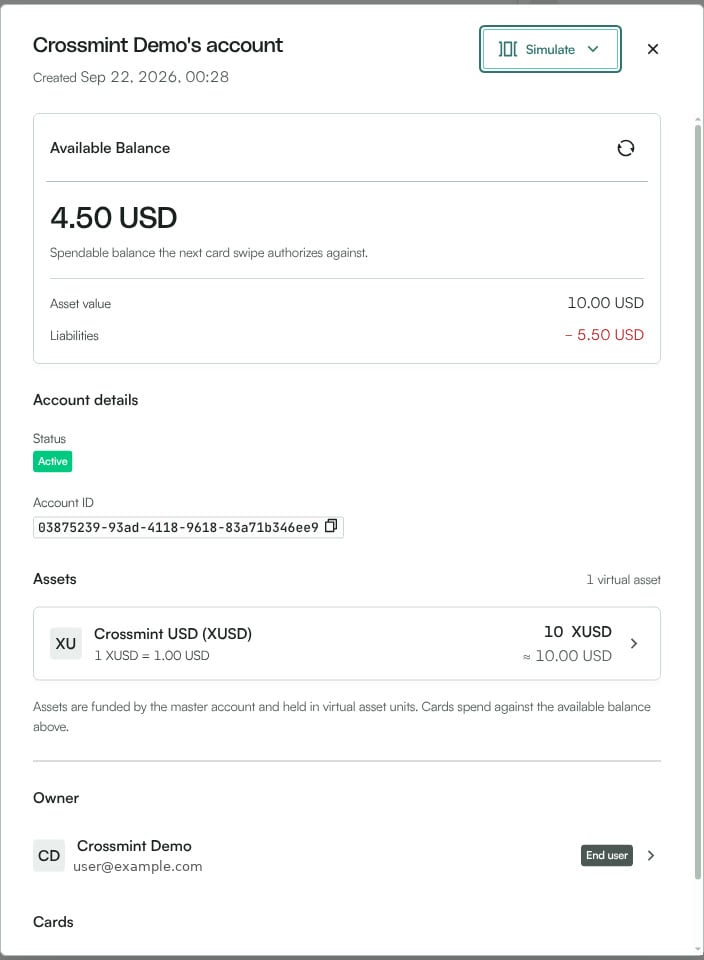
On the program side, the authorization appears under Activities → Card transactions and reduces the user account’s available balance against the master account collateral:
Reap platform transaction drawer showing a Pending 2.50 USD e-commerce authorization at Crossmint Coffee
Reap platform account drawer showing 4.50 USD available balance, 10 XUSD asset value, 5.50 USD liabilities, and the master account balance behind it

Verify the Integration

Run npm run dev, sign in with an email, and click through the flow. A successful run shows:
  • The wallet address on base-sepolia with a USDXM balance after stagingFund.
  • A Reap user with application.status: "APPROVED", an ACTIVE account, and an ACTIVE virtual card.
  • The wallet balance decreasing by the funded amount and availableBalance on the Reap account increasing by the same amount.
  • A PENDING authorization after the simulated purchase, with availableBalance reduced by the purchase amount.
  • Card number, expiry, and CVV rendered inside the reveal iframe.
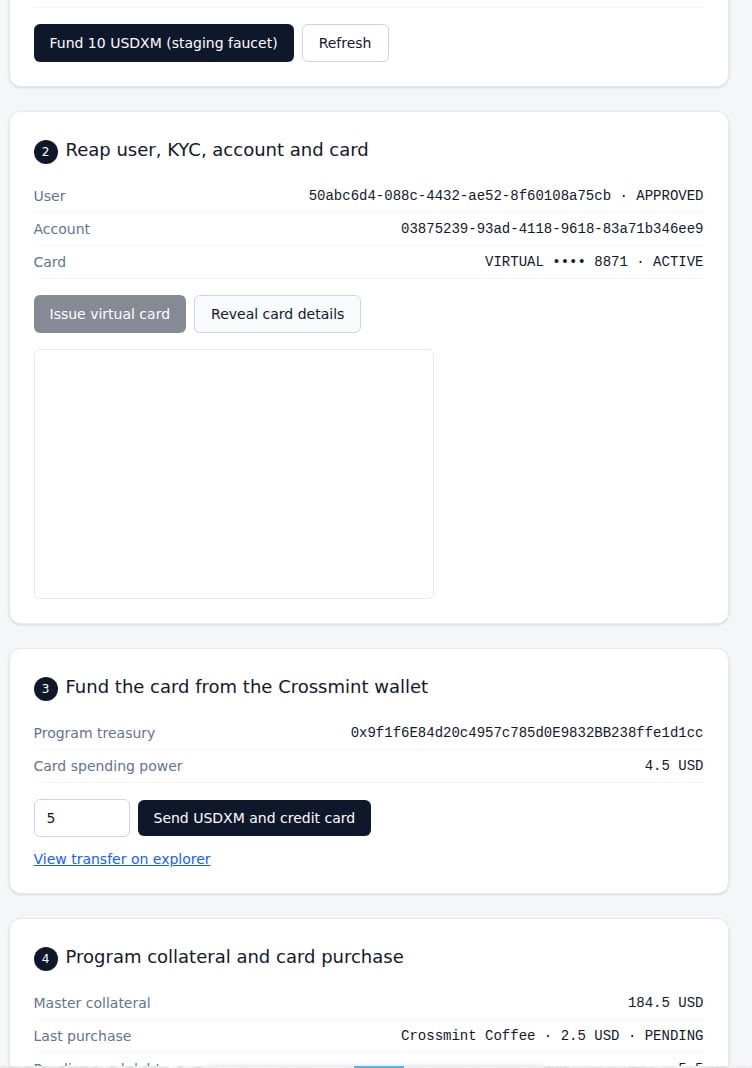
Demo app showing an approved Reap user, an active virtual card, wallet and Reap balances, and a pending purchase

Reap PoC after funding, a simulated purchase, and a secure reveal

Troubleshooting

The /simulation/users/{id}/application endpoint returns 204 when the request is accepted, not when the application is approved. Poll GET /users/{id} until application.status is APPROVED; the sandbox usually takes 5 to 15 seconds.
wallet.stagingFund() mints Crossmint’s staging stablecoin USDXM, not testnet USDC. Read the balance with wallet.balances(["usdxm"]) and send with wallet.send(recipient, "usdxm", amount). Base Sepolia has several USDC-like tokens, so do not assume a single USDC address.
Authorizations are backed by the project’s master collateral account, not only by the user’s balance. In the sandbox, call /simulation/fiat-deposits to add collateral; in production, fund the master account through Reap.
Approved authorizations return amount as an object with authorized, reversed, and current, while declines return a scalar originalAmount. Normalize the response in the server action as shown above before rendering it.
Reveal URLs are single-use and expire after about 5 minutes. Request a new URL each time the user opens the card details, and load it directly in an iframe or WebView rather than fetching it from your backend.

Next Steps

Check Wallet Balances

Show the wallet balance alongside the card’s spending power

Gas Sponsorship

Cover gas fees so users can fund their card without holding ETH

Rain Card Issuance

Compare with the Rain integration for collateral-backed Visa cards